![]()
Click TOOLS OF THE TRADE to see some of the tools and equipment we used. Click CREDITS to see the major companies and suppliers we've worked with. |
||
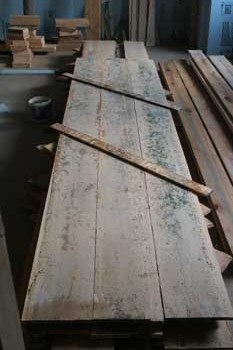 |
1-3-11 Can anyone tell what that is all over our recently milled boards? That's right, it's MOLD! Nothing we've ever milled from logs developed mold. None of the other lumber that's stacked in the basement got moldy. Just this stack. We're not sure which log this used to be, but we know it wasn't one of our spruce logs. These boards are 10" wide and we didn't have any logs left that were this large in diameter after we cut our 6x8 beams. Everything in this stack was moldy, both 6" and 10" boards. Jeff spent this evening scrubbing a few boards with bleach water. We haven't had to do this since we first peeled our logs. |
|
 |
1-5-11 Two nights later, and Jeff has some 13" boards stained, as well as the bleached boards from two days ago. Well, one side is stained. The other sides can be done tomorrow. |
|
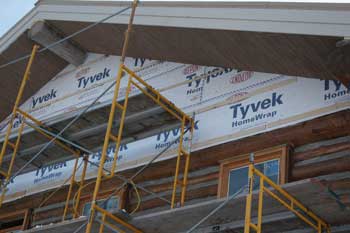 |
More staining today, but the visual difference on the outside was the furring strips Jeff tacked up this afternoon. He used 3/8" scraps leftover from the milling and cut some additional ones on the table saw. Once the strips were up, Jeff put up a few boards. It was too dark to take pictures by quitting time, so check out tomorrow's pics. In the evening, he insulated the full wall of the root cellar. no additional pics for today |
|
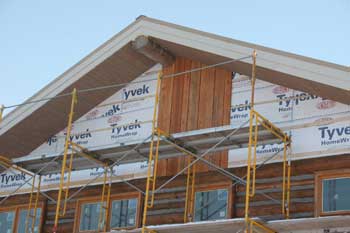 |
1-9-11 The first 7 boards went up yesterday afternoon and another board today. Jeff started in the middle, under the ridge pole, with a 13" board, then worked to the right. Since we milled three different width boards, the pattern we decided on was 13"-10"-6"-10"-13". Jeff scribed the first board to fit tightly up under the ridge pole. The rest fit tight to the soffit paneling. The bottom edges were bevel-cut with the jigsaw for a fairly tight fit against the top log. More staining and insulating in the evening. |
|
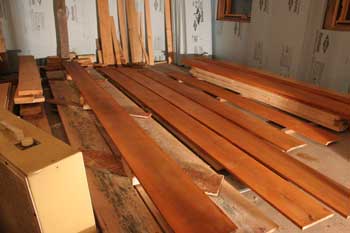 |
1-10-11 Jeff was out tonight again staining the 10" boards he bleached last night. no additional pics for today |
|
 |
1-12-11 It was more cleaning mold off the siding boards tonight. |
|
 |
1-13-11 Tonight Jeff stained the boards he cleaned last night. He also restacked and stickered the wide 13-3/4" boards out of the way behind the stairwell. |
|
 |
1-15-11 Lake effect snow made putting up siding a little challenging today, but Jeff made some good progress. |
|
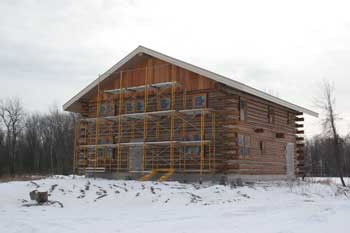 |
Another cold, snowy day for working outside. Jeff finished up installing the boards for our board-and-batten siding while Jillena cleaned and stained more of the moldy boards. She also worked on the wall insulation. Jeff started staining batten strips in the evening. |
|
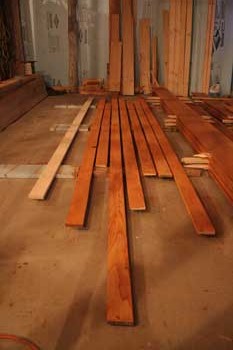 |
Jeff was staining the flip side of the boards he stained last night. Jillena was upstairs insulating more of the north wall. no additional pics for today |
|
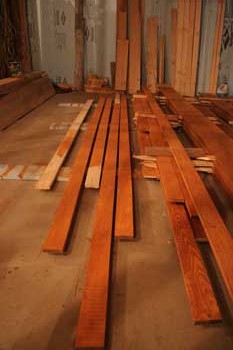 |
Jeff stained a few new batten strips, then got to work on a new project related to the interior chinking: installing buck extensions, as we'll call them, on the windows. no additional pics for today |
|
 |
Jeff worked on attaching batten strips on the north gable wall while Jillena progressed on the interior insulation and lath. no additional pics for today |
|
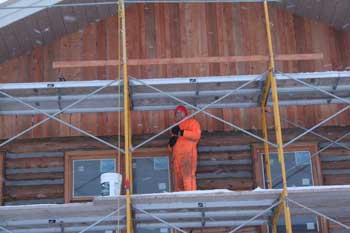 |
Jeff was protected from the falling snow while putting up a few more batten strips. Jillena worked away on the west wall, packing more insulation and stapling lath strips. |
|
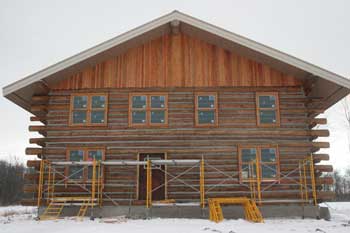 |
The board-and-batten siding on the north gable wall is finally finished! The scaffolding got taken down today as well, and moved inside to set up for chinking the interior. Jillena was still plugging away at the insulation and lath, making more progress on the west wall. |
|
If you have any questions about this website, e-mail us at stargazer@stargazerpics.com.
HOME | aurorae | moon & lunar eclipses | night sky shots | landscapes | animals unique shots | our wedding | Alaska 2006 | our log home | Stephen | Oliver | Alistair |
These pages and their contents Copyright © All Rights Reserved.