![]()
PLUMBING
5-21-11
 |
 |
|
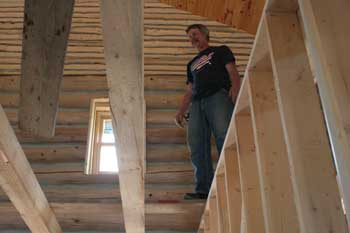
Paul "hovering" over the wet wall. |
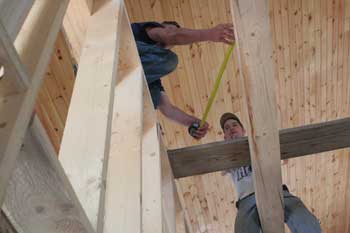
Taking measurements for the spacing of the planks that the scaffold frames will stand on. |
|
 |
 |
|
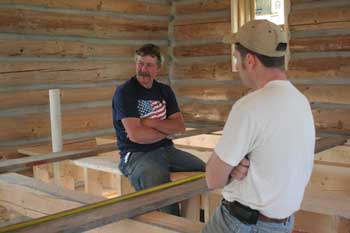
Ponderin' (which means not working) |
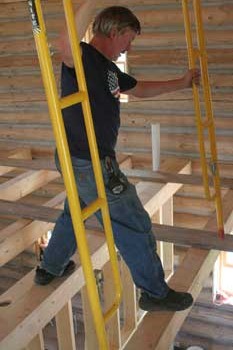
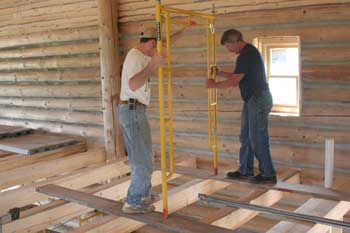
Jeff passed the frames up to Paul... |
|
 |
 |
|
...who maneuvered around the beams to stack the pieces against the wall until Jeff could come up to help assemble. |
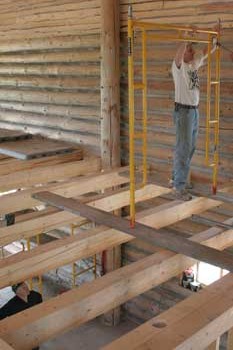
Setting the first frame in place. The vent stack they'll be working with is visible on the right. |
|
 |
 |
|
John watches from below as Jeff holds the frame while Paul connects an X-brace. |
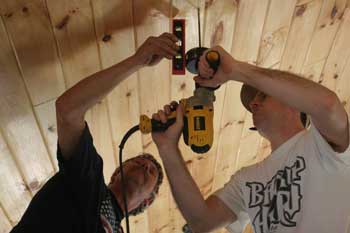
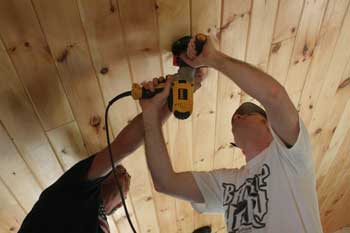
After dropping a plumb bob from the ceiling directly over the center of the vent pipe below, a pilot hole is started. Paul holds a torpedo level against the hole saw to make sure Jeff is holding the drill motor as vertical as possible. |
|
 |
 |
|
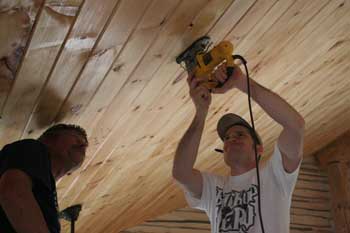
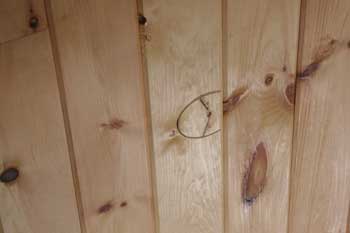
Because of the pitch of the ceiling, the hole saw will only cut through the downslope half of the kerf before it bottoms out... |
...so Jeff cuts that part of the ceiling out with the jigsaw. |
|
 |
 |
|
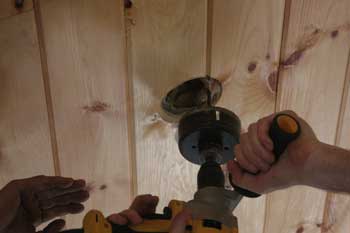
Just before popping out the piece Jeff jigsawed. |
Now the hole saw can continue. |
|
 |
 |
|
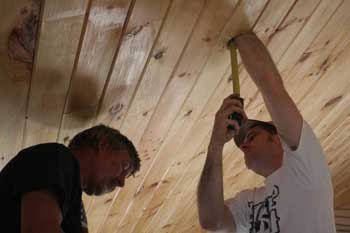
The saw has cut through the vapor barrier as well, exposing the insulation. |
Now the hard part - tapping into the subroof with the drill bit (without going through the metal roof) directly above the center of the ceiling hole. This will give us the pilot location when we're ready to poke all the way through the outer metal roofing in a couple of weeks. In this pic, Jeff reaches up through the hole to clear a tunnel in the insulation. He's also holding a tape measure to check the vertical reach for the drill bit. |
|
 |
||
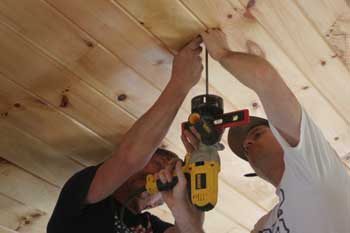
With an extension on the hole saw pilot bit used earlier, Paul held half of the ceiling hole plug in the hole as a guide for the bit to stay centered in the hole. After checking the drill motor for plumb again, Jeff pressed the bit against the subroof and bumped the trigger a few times to leave a dimple in the bottom of the subroof. The hole for the second vent went just as smoothly. |
| <-- BACK TO "Spring 2011 Projects" |
BACK TO OUR LOG HOME MAIN PAGE
If you have any questions about this website, e-mail us at stargazer@stargazerpics.com.
HOME | aurorae | moon & lunar eclipses | night sky shots | landscapes | animals unique shots | our wedding | Alaska 2006 | our log home | Stephen | Oliver | Alistair |
These pages and their contents Copyright © All Rights Reserved.