![]()
2nd FLOOR BEAMS
4-16-11
 |
 |
|
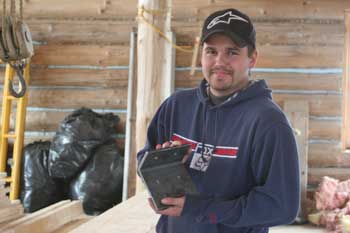
Brendan holding one of the many iron brackets he cut for us. Thanks, Brendan! |
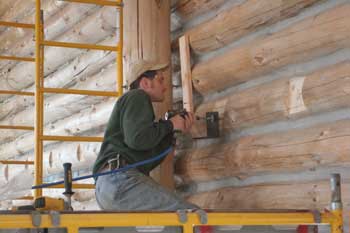
Installing the first bracket. Each bracket was secured with two 5" 3/8 lag screws. |
|
 |
 |
|
First bracket installed. |
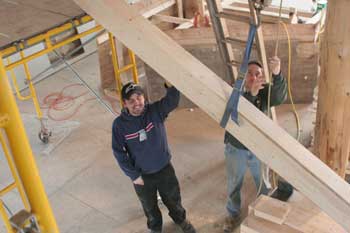
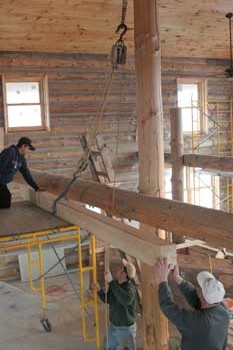
We used a block and tackle set hung from an RPSL to lift the first beam. (We actually switched to lifting each successive beam by hand since the order we chose to set them only led to some being in the way once they were up.) |
|
 |
 |
|
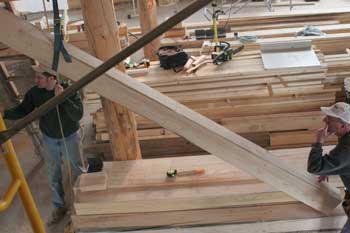
Lifting at approximately the balance point allowed us to easily tip one end up and onto a rolling scaffold tower. |
The beam was set on the deck lap joint end first. |
|
 |
 |
|
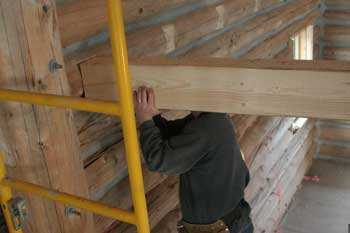
We then pulled the beam toward the scaffolding and rolled the scaffolding toward the beam and set it on the deck. |
Next, we simply rotated the scaffold tower 90 degrees and it was a short lift onto the girder. |
|
 |
 |
|
Lastly, it was an easy lift of the other end onto the bracket. |
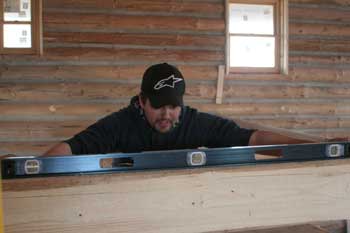
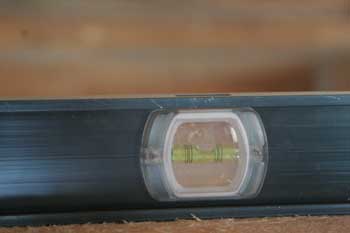
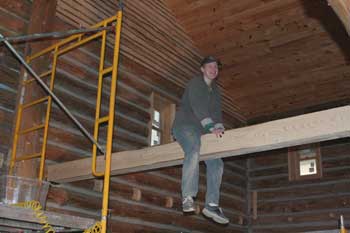
Brendan checks the beam for level. |
|
 |
 |
|
Not bad! |
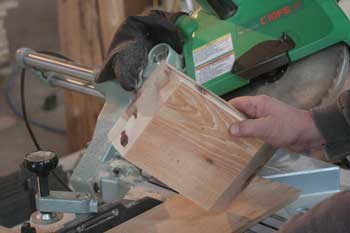
The end of every beam that will rest on a log girder will have a hickory shim block, custom made out of slabs of various thicknesses we cut at the mill. This will bring these ends up to the desired level height. |
|
 |
 |
|
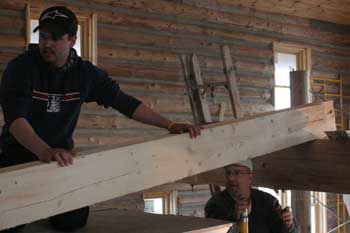
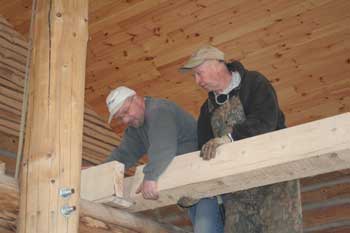
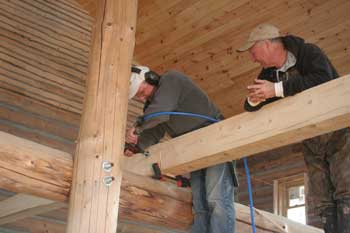
Bob and John lift the center beam into place and check the lap joint for fit. |
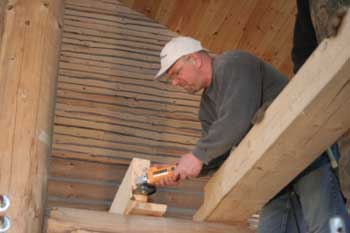
Bob using the "wheel of death" (a Lancelot wheel) to grind down a spot on the end of the first beam for a tighter lap joint. |
|
 |
 |
|
Bolting the two beams together through the lap joint. |
With one full row of 3 beams stretching from back wall to front wall, we now have a 6"-wide second floor! |
|
 |
 |
|
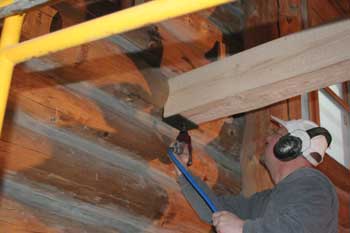
Bob anchors a beam to its bracket with a short 3/8" lag screw. |
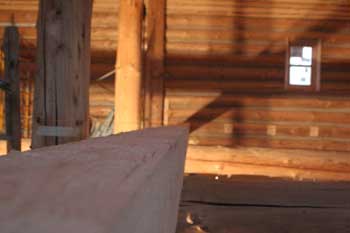
From on top of the front beam looking toward the back wall, it looks like one long continuous beam. Nice job, everyone! |
| <-- BACK TO "Spring 2011 Projects" |
BACK TO OUR LOG HOME MAIN PAGE
If you have any questions about this website, e-mail us at stargazer@stargazerpics.com.
HOME | aurorae | moon & lunar eclipses | night sky shots | landscapes | animals unique shots | our wedding | Alaska 2006 | our log home | Stephen | Oliver | Alistair |
These pages and their contents Copyright © All Rights Reserved.