![]()
10-9-09
 |
 |
|
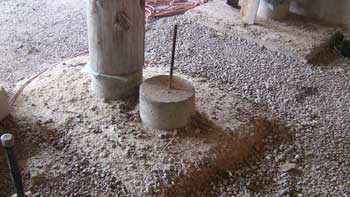
The first thing Bob did this morning was break apart the two concrete piers that we didn't end up using for purlin support logs. There were two of them. |
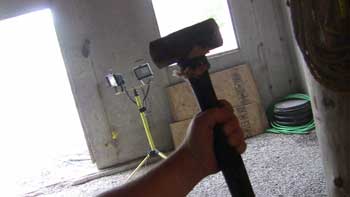
Bob's tool of choice - the 4lb. mallet. |
|
 |
 |
|
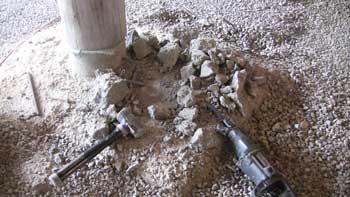
After breaking the pier apart, Bob cut the rebar pin down at the footer with the reciprocating saw. |
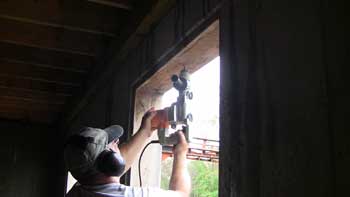
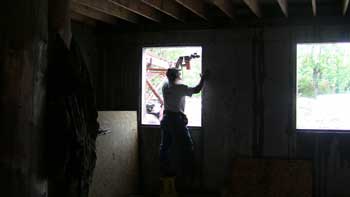
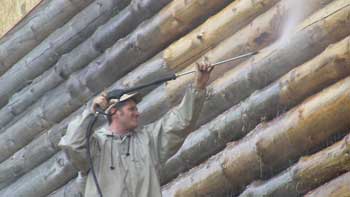
While Jeff continued to work on washing the outside of the house, Bob got out the hammer drill and got to work on lag-bolting the rest of the window frames. |
|
 |
 |
|
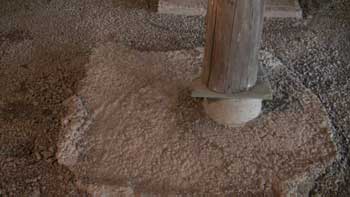
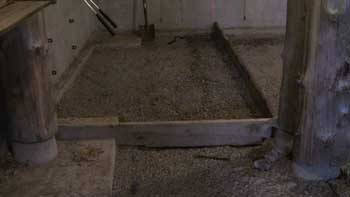
Here's what we've got to work with as far as the shape of the interior footer pads go. This will make cutting the insulation boards for a snug fit difficult. |
Bob standing on a bucket to drill the upper holes for the lag bolts. |
|
 |
 |
|
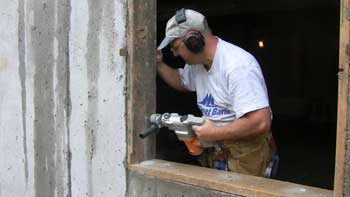
Drilling one of the lower holes. |
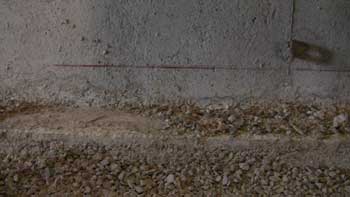
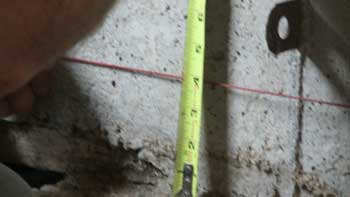
Here's the chalk line they snapped which marks the 4" height of the perimeter styrofoam. This is also the height the concrete will be. |
|
 |
 |
|
The chalk line was checked for level at various locations along the footer wall. |
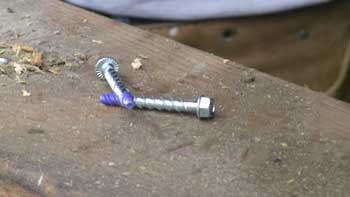
Here are the concrete lag bolts we used on the window and door frames. |
|
 |
 |
|
We used an air ratchet to secure the lag bolts. |
Bob let Jeff do the header bolts. |
|
 |
 |
|
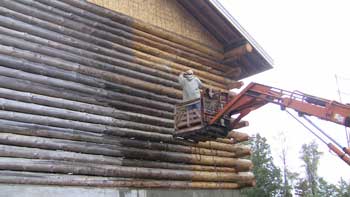
Back to pressure-washing. This is the south wall - the last full wall to be washed. |
There's still the last part of the east wall to do, as seen here, as well as 1/3 of the west wall. |
|
 |
 |
|
Jeff having "fun" up in the crate. |
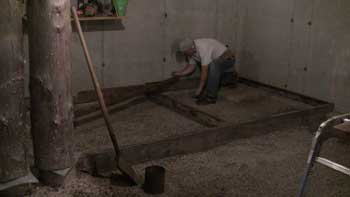
Bob stayed away from the bleach-water rain and formed out the northwest corner of the basement floor where our root cellar will be. |
|
 |
 |
|
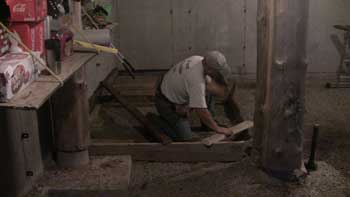
We wanted a real root cellar, with no concrete floor to potentially "leak" heat into this room. Here, Bob is nailing some bracing into place. |
One piece of corner bracing, and he's finished. |
|
 |
 |
|
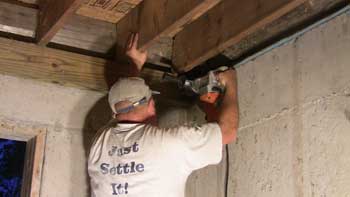
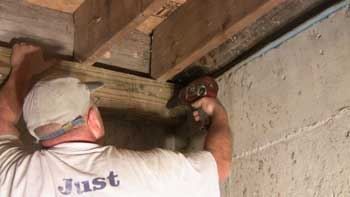
Before Bob left for the day, he put in the last 8 lag bolts in the ledger that were originally left out because the lifting poles were in the way. |
He used the hammer drill to pre-drill the holes in the concrete, then used the impact wrench to install the bolts. |
| <-- BACK TO CONSTRUCTION (Basement Slab) |
BACK TO OUR LOG HOME MAIN PAGE
If you have any questions about this website, e-mail us at stargazer@stargazerpics.com.
HOME | aurorae | moon & lunar eclipses | night sky shots | landscapes | animals unique shots | our wedding | Alaska 2006 | our log home | Stephen | Oliver | Alistair |
These pages and their contents Copyright © All Rights Reserved.