![]()
9-25-09
 |
 |
|
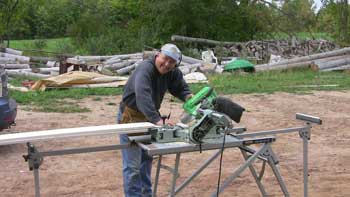
Bob set up early and got right to cutting some of the last pieces of Smart Trim. |
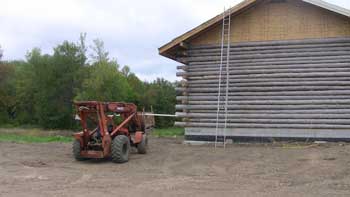
Bob sets up the forklift to lift Jeff up to the lower end of the left pitch. |
|
 |
 |
|
Two pieces are up and Jeff is caulking the heads of the finish nails so they don't rust. Later, when we paint the Smart Trim, we'll be able to paint the caulk as well. |
It just so happens that we have white caulk which matches the white-primed Smart Trim. A dab is applied over each nail head, then spread with a finger to blend in with the Smart Trim texture. |
|
 |
 |
|
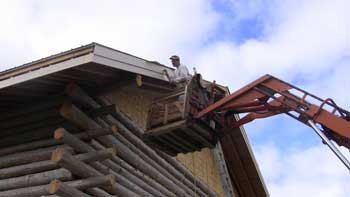
Jeff takes a picture from high up in the crate. The forklift is positioned with the crate at the peak, while the ladder remains at about mid-slope so that both Jeff and Bob and handle the long Smart Trim pieces. |
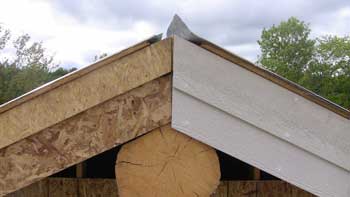
Here is the mitered cut they hope to match with these last two pieces. Measure twice, cut once! |
|
 |
 |
|
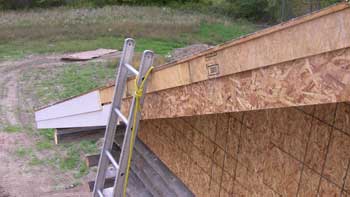
Bob and Jeff pass tools back and forth on a rope tied off to the ladder and the crate. |
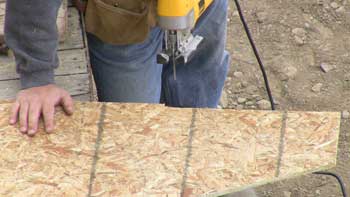
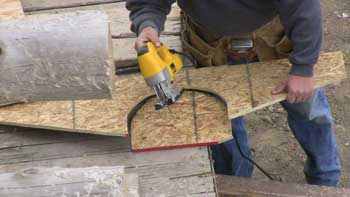
With the Smart Trim finished, the last thing to do on the gable wall is to close up the hole around the ridge pole. Jeff has relayed measurements to Bob who begins cutting the single piece to fit. |
|
 |
 |
|
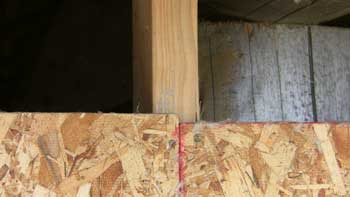
Along the bottom edge, Bob will cut a 1/4" step to fit against this mismatched joint. |
Looks pretty good from way up in the crate (with a zoom lens). |
|
 |
 |
|
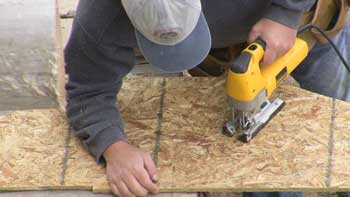
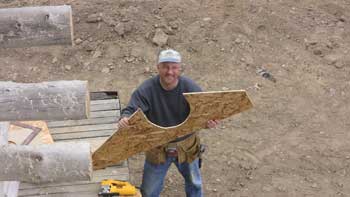
Bob begins cutting the scribed profile of the ridge pole. |
Another fine job. |
|
 |
 |
|
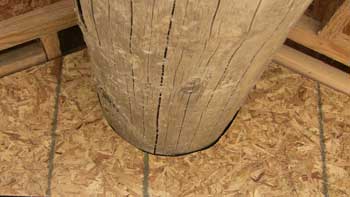
If it doesn't fit, they've decided to blame it on Jeff's scribing. |
Jeff must have done pretty well. This will do. |
| <-- BACK TO CONSTRUCTION (FLOOR & ROOF) |
BACK TO OUR LOG HOME MAIN PAGE
If you have any questions about this website, e-mail us at stargazer@stargazerpics.com.
HOME | aurorae | moon & lunar eclipses | night sky shots | landscapes | animals unique shots | our wedding | Alaska 2006 | our log home | Stephen | Oliver | Alistair |
These pages and their contents Copyright © All Rights Reserved.