![]()
9-18-09
 |
 |
|
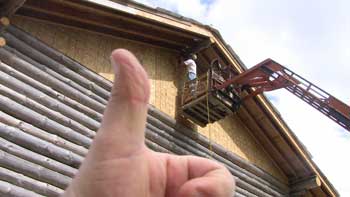
Bob setting up the forklift under the south peak. The first thing the guys did was put the last piece of fascia backing near the top of the west gable. |
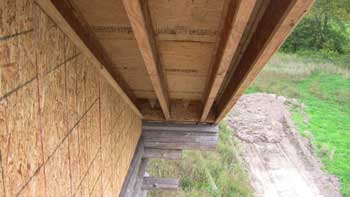
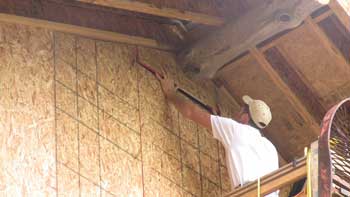
While up in the forklift crate, Jeff took a few pics of the underside of the roof. Here you can see the bottoms of the TJI rafters and the blocking material near the bottom. |
|
 |
 |
|
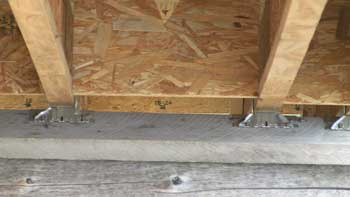
A closeup of the cap log plate and the pitch brackets. |
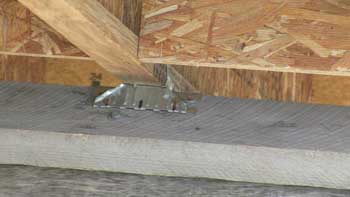
Another view of one of the brackets. |
|
 |
 |
|
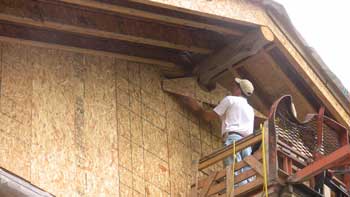
Next, they finished off the top of the gable wall sheathing. The last piece needed a scribed cutout for the ridge pole. Jeff drew the scribe line on the OSB piece and Bob cut it out with his jigsaw. |
After doing so many scribes in the flooring around the poles, they must have gotten really good. It only took one try and it was a near perfect fit! Needless to say, they were both pretty surprised. |
|
 |
 |
|
Bob was happy about that. |
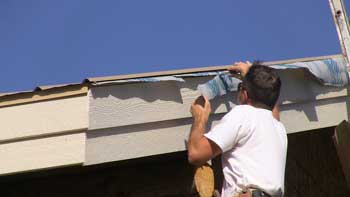
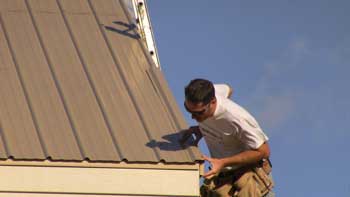
Cutting off the excess underlayment. |
|
 |
 |
|
After the SmartTrim was nailed up, they decided to continue on this side of the house and install the steel gable trim. |
Setting the first section flush with the bottom edge of the roof sheet. |
|
 |
 |
|
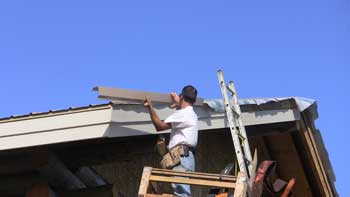
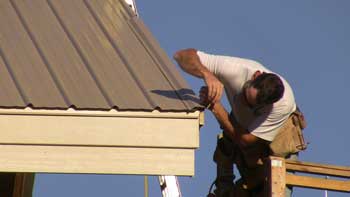
Checking the dry fit. |
With the trim section set aside, butyl tape goes down to provide a watertight seal along the top edge. |
|
 |
 |
|
Marking a line for a tab that will get cut and folded under the adjacent drip edge to close up some of the gap at the corner. |
Finally, screwing it in place. |
| <-- BACK TO CONSTRUCTION (FLOOR & ROOF) |
BACK TO OUR LOG HOME MAIN PAGE
If you have any questions about this website, e-mail us at stargazer@stargazerpics.com.
HOME | aurorae | moon & lunar eclipses | night sky shots | landscapes | animals unique shots | our wedding | Alaska 2006 | our log home | Stephen | Oliver | Alistair |
These pages and their contents Copyright © All Rights Reserved.