![]()
7-6-09
 |
 |
|
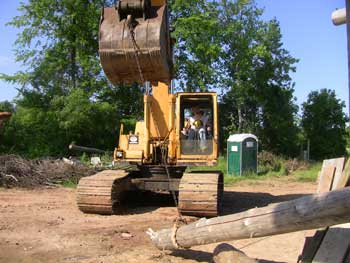
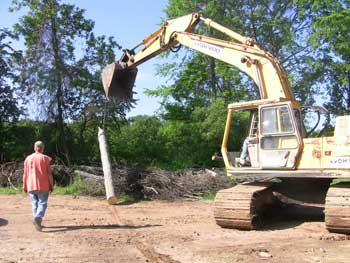
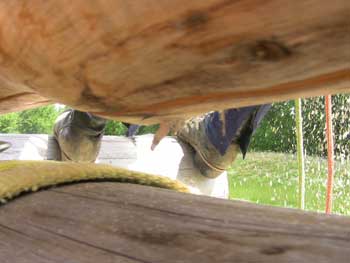
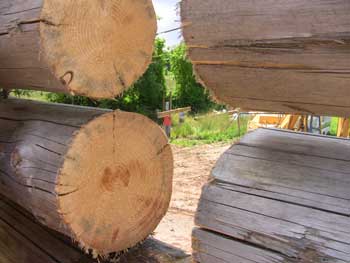
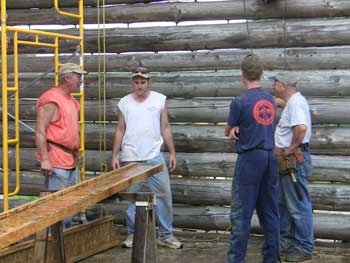
Jeff operating the excavator to haul the log sections out of the basement... |
...and over to the hedgerow. |
|
 |
 |
|
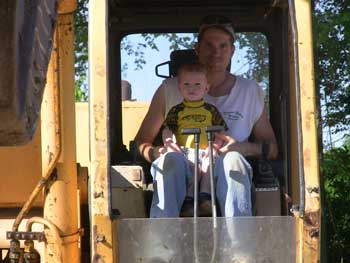
Stephen helping his dad. |
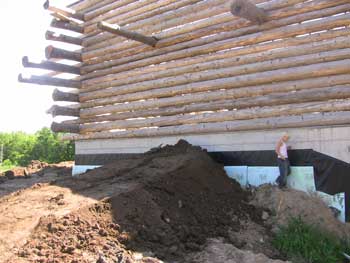
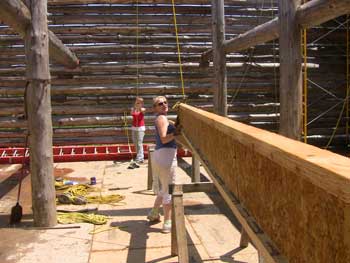
In thinking about how to get the rafters up to the top of the house, we decided the best way was to pass them through a "window" in the west wall to get them to the first floor. We could raise them up from there. First we had to build a ramp to reach the "window". |
|
 |
 |
|
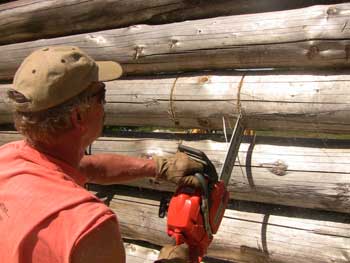
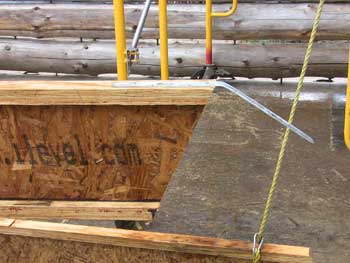
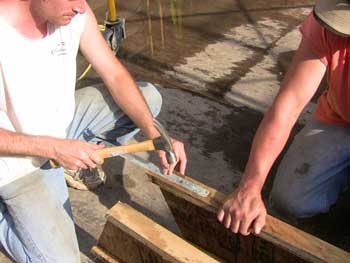
Paul begins cutting a small hole inside the area where our bathroom window will be. |
We figured cutting through two logs would give us a large enough opening to pass the 12" I-joists through. |
|
 |
 |
|
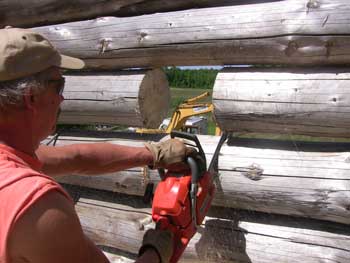
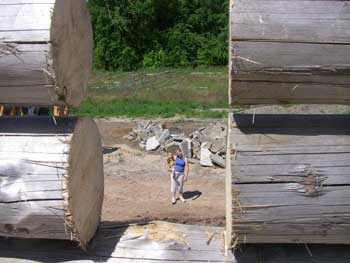
The first view through our new bathroom window. |
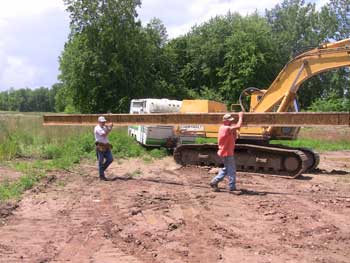
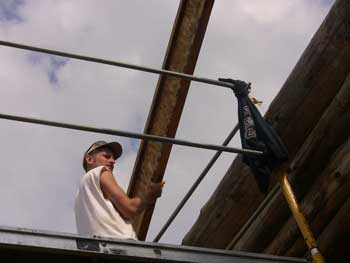
Jeff attaches a pulley to the top of the east wall. Another will hang from the top of the west wall. These pulleys will allow us to pull up the outside ends of the rafters. |
|
 |
 |
|
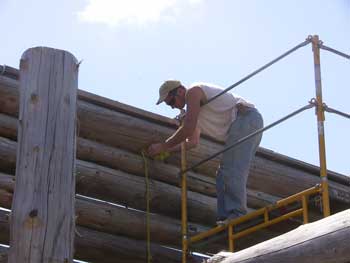
Paul rigs up a pulley to the ridge pole. This one will hoist up the inside ends of the rafters. |
Meanwhile, Matt continues to cut overdangles. |
|
 |
 |
|
Matt worked from the bottom up, cutting every overdangle back to about 2 feet. |
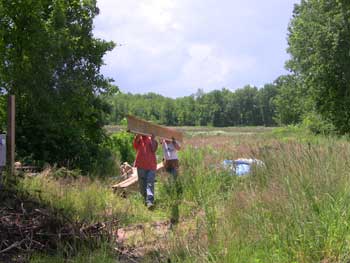
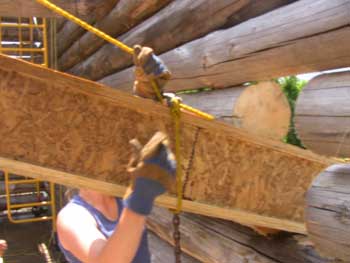
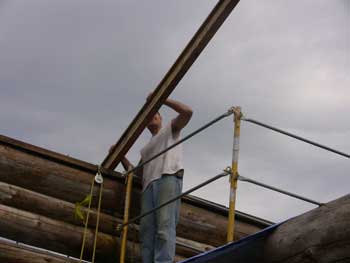
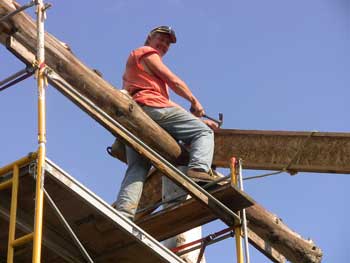
Paul and Bob carry over the first rafter. Although these I-joists are very light for their size, they're extremely strong. |
|
 |
 |
|
Two people can easily carry one beam. |
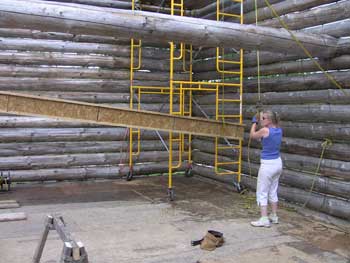
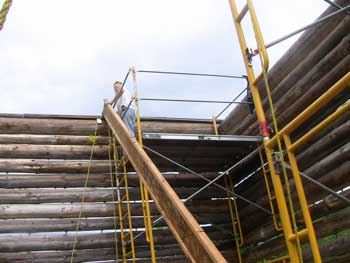
Up the ramp and through the window. |
|
 |
 |
|
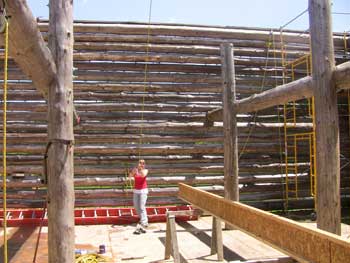
A view from inside the house. Paul and Bob bring the second rafter. |
Up the ramp... |
|
 |
 |
|
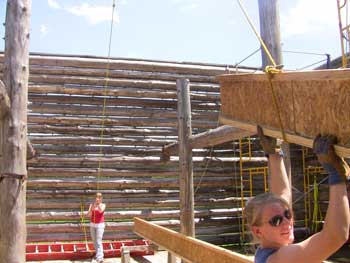
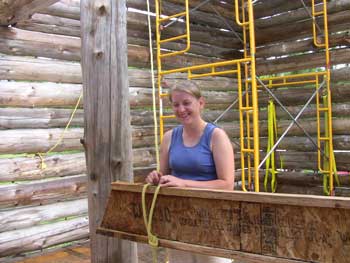
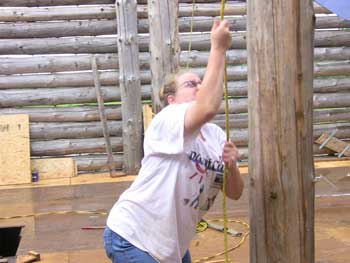
...and through the window. Jillena secures a choker loop to the leading end... |
...which LouElla can pull via another pulley up on the ridge pole. |
|
 |
 |
|
LouElla pulls the rafter in past the balance point in the window, then lowers her end... |
...so Jillena can grab it and continue carrying into the house. Jeff was at the window (taking pictures) and grabbed the tail end. Once in the house, the rafters were lined up on the floor. |
|
 |
 |
|
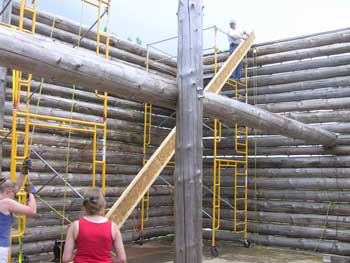
Our system was to lift the outside end first... |
...set it on the wall... |
|
 |
 |
|
...then lift the inside end up to the ridge pole. |
Don't know why they're all standing around with only one rafter raised! |
|
 |
 |
|
This is the second rafter and it will pair up with the first one. Each set is held together at the peak with a strap. The inside end of each rafter must be cut at the proper angle so that each pair is a tight fit at the peak. For each pair, we attached the strap to the second rafter, then nailed it to the first rafter in the air. |
The outside ends are also cut so that they will have a vertical surface for the fascia board. |
|
 |
 |
|
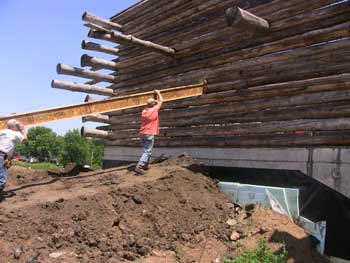
Paul awaits his end of the second rafter... |
...while Jillena lifts the outside end up to Jeff first. |
|
 |
 |
|
Lydia pulls the inside end up to Paul. |
Paul then sets his end on the scaffold rails. |
|
 |
 |
|
Jeff and Paul guide the rafter down the slope so Paul can lift his end up and onto the ridge pole. |
Then they push the rafter back up to meet its mate at the peak. |
|
 |
 |
|
Paul brings the two together and lines them up for a tight fit. At this point, we're not too concerned about setting the pair on the exact measured rafter mark on the ridge pole. We'll address that when we put the spacer blocks in. |
With the two creating a tight joint, Paul nails the other half of the peak strap to the first rafter. |
|
 |
 |
|
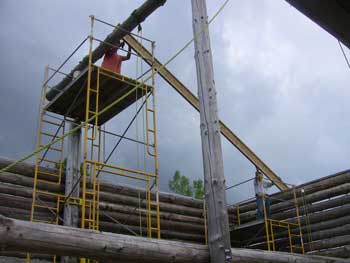
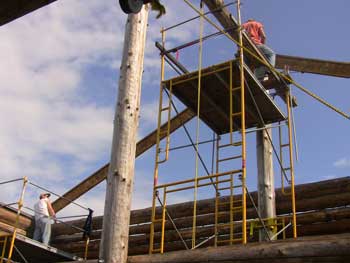
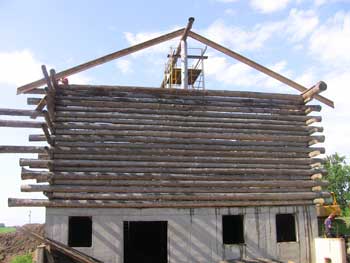
The roof has begun to take shape. Even with only one pair of rafters up, our project is finally looking like a house. |
We prepared a few more rafters by cutting the angles in the ends and attaching the straps before calling it a day. |
|
 |
||
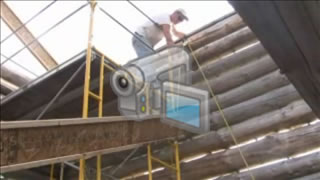
Raising the 4th rafter. (click image to play video) |
| <-- BACK TO CONSTRUCTION (FLOOR & ROOF) |
BACK TO OUR LOG HOME MAIN PAGE
If you have any questions about this website, e-mail us at stargazer@stargazerpics.com.
HOME | aurorae | moon & lunar eclipses | night sky shots | landscapes | animals unique shots | our wedding | Alaska 2006 | our log home | Stephen | Oliver | Alistair |
These pages and their contents Copyright © All Rights Reserved.