![]()
6-19-09
 |
 |
|
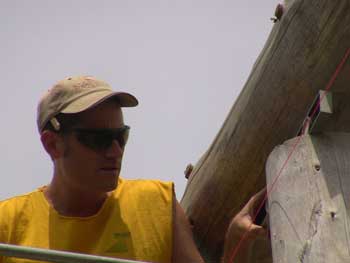
While taking a last-minute check of the ridge pole and RPSL contact areas before pinning, Jeff noticed that the RPSL top that had the shim on it was pitched enough that only the edge was making contact with the ridge pole. |
So they picked up the south end of the ridge pole again and ground down the top of the RPSL so it was more level. |
|
 |
 |
|
By doing that, we lost a little more height in the RPSL, so two shims now needed to be inserted. |
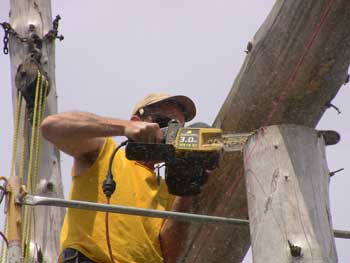
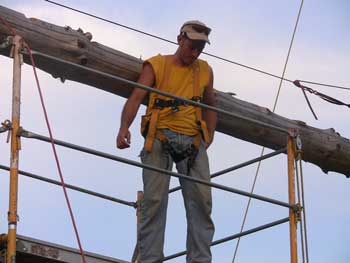
Ready to drill and pin! Jeff did all the work up on the ridge pole, starting at the RPSL he just fixed. Bob joined him on the scaffold to take the pictures. |
|
 |
 |
|
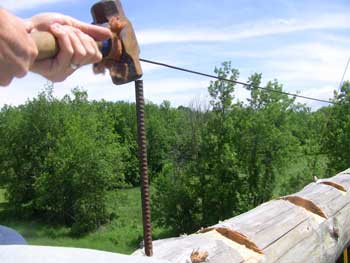
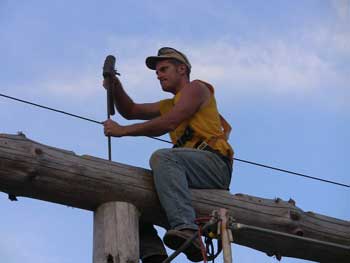
Bob cut the ridge pole pins the diameter of the ridge pole at the RPSL location, plus 12 inches. They were each about 25 inches long. |
Even though Jeff had the safety harness on, with only a single log to sit on, instead of a column of stacked logs (as in the walls), it was nice to be able to hang onto the safety cable for added balance. |
|
 |
 |
|
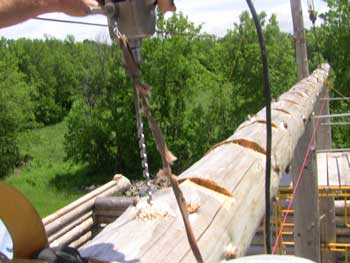
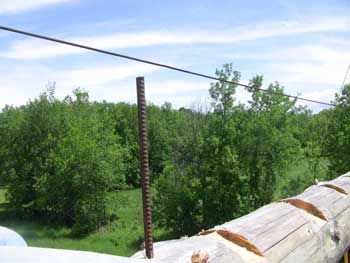
With the top of the pin now below the cable, it still has a long way to go. |
Driving into the end grain of the RPSLs also proved to be quite a chore. |
|
 |
 |
|
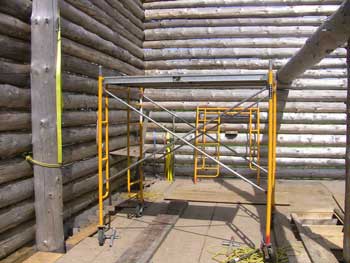
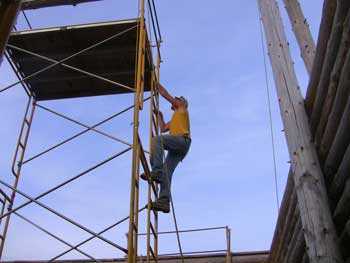
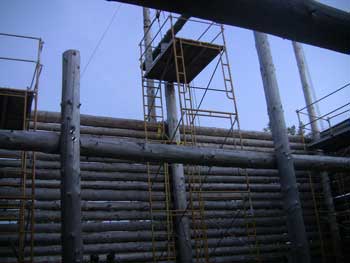
Instead of moving on to the other inner RPSL, Jeff and Bob broke the north scaffold tower down. The pieces from this tower will be used to erect the two shorter towers needed for the cap walls when we set rafters. |
The south taller tower will stay up for reaching the ridge pole. Jeff and Bob have almost finished building the shorter tower for the west wall. |
|
 |
 |
|
Bob is just finishing up installing the safety rails on the shorter east tower. Now all three towers are how we want them for installing the rafters. |
The guys decided to skip the other inner RPSL and pin the south RPSL first, since the scaffold was already against the south wall. |
|
 |
 |
|
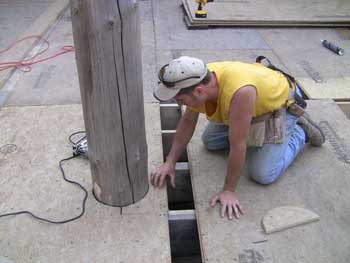
Now, before the scaffold tower can be moved from the south RPSL a few feet north to the inner RPSL for pinning, that area of the floor needs to be finished. We can now do that as the RPSLs are bolted into place. To finish the floor, a couple of floor joists needed to come down from the suspended scaffolding that was still up on the west wall. |
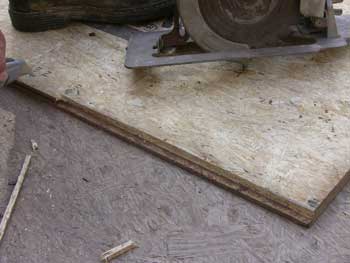
One of the sub-floor panels needed some custom trimming... |
|
 |
 |
|
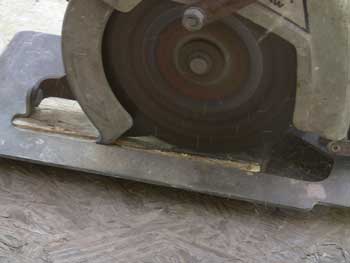
...which involved cutting part of the bottom of the groove off. Flipping the panel over and setting the blade shallow... |
...Bob took off just enough. |
|
 |
 |
|
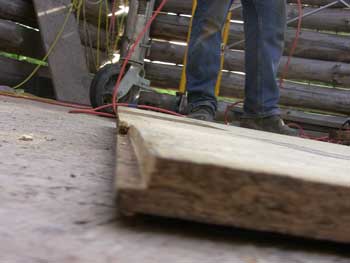
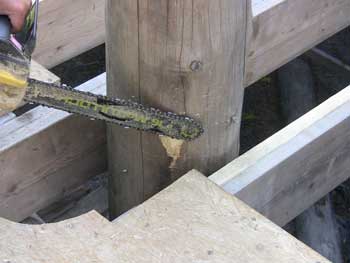
Some custom notching was also needed to fit around the RPSL. |
The first cut was on the south side of the RPSL, which took out an extra-wide square back to the mid-point of the RPSL. |
|
 |
 |
|
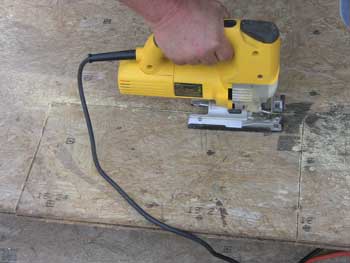
Then, Jeff scribed around the pole and cut it with the jigsaw. Check out Bob's notch idea. Since we had double joists on either side of the pole, the square notch was cut a joist-width wider on both sides, then the scribed half-circle was tight to the pole. |
This will allow a scribed piece from the opposite side, taken from the cutout piece, to slide in and fit fairly easily. We also had to take care of a knot on the pole. |
|
 |
 |
|
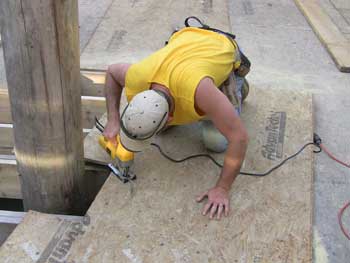
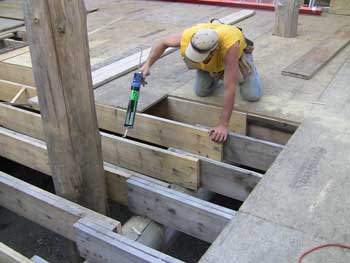
Ready to glue and screw the panel down. |
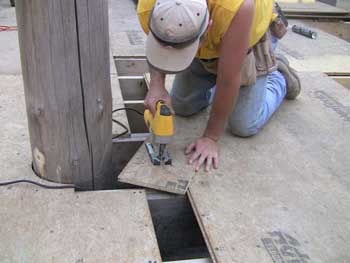
Cutting the scribe out of the small piece that will complete the floor around the RPSL. |
|
 |
 |
|
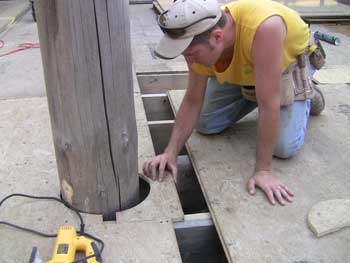
After a few dry fits... |
...it looks good! |
|
 |
 |
|
Now that there's a floor to roll the heavy scaffold onto, the tower gets moved northward against the last RPSL to pin. |
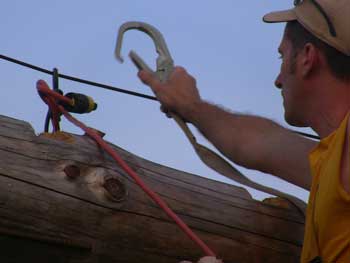
Putting on the safety harness. |
|
 |
 |
|
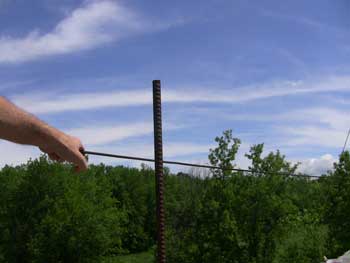
Clipping the safety line to the cable. |
Drilling the last hole! |
|
 |
 |
|
Driving the last pin! |
Driving the last of the four long pins on the ridge pole. This is also the very last pin for the entire house! (click on the image to play video) |
|
 |
||
The ridge pole is finished! In fact, all drilling and pinning is finished! The scaffold towers are set up for rafter work now. |
| <-- BACK TO CONSTRUCTION (FLOOR & ROOF) |
BACK TO OUR LOG HOME MAIN PAGE
If you have any questions about this website, e-mail us at stargazer@stargazerpics.com.
HOME | aurorae | moon & lunar eclipses | night sky shots | landscapes | animals unique shots | our wedding | Alaska 2006 | our log home | Stephen | Oliver | Alistair |
These pages and their contents Copyright © All Rights Reserved.