![]()
6-13-09
 |
 |
|
Paul up on the scaffold tower checking the elevation of the top of the ridge pole using a framing square and level referencing our string line. |
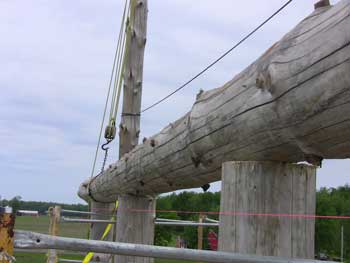
Looking back at the finished work of our ridge pole sitting on three of the four RPSLs. |
|
 |
 |
|
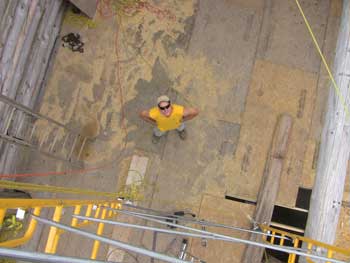
Looking down at Jeff and all the sawdust that's accumulated. Someone ought to sweep up around here! |
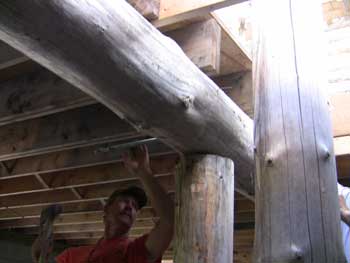
Getting to work on notching the girder for the rear inner RPSL by making kerf cuts with the chainsaw. Now that we know exactly where to position the inner RPSLs in relation to the ridge pole, we've marked the intersecting girders. Now we know where to cut the girder notch to accept the RPSL notch. |
|
 |
 |
|
Our working platform for carving the girder and RPSL notches. |
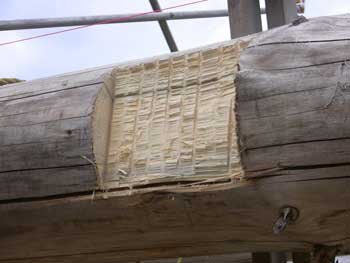
The basic rough notch after knocking out the pieces between kerf cuts. |
|
 |
 |
|
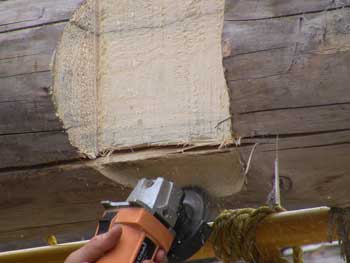
Jeff then takes the chainsaw wheel to the underside of the girder, starting at the bottom edge of the rough notch. |
This will be the flat "roof"
that will sit on the "floor" in the RPSL notch. We're making this about 2" deep. Jeff has also flared the edges to fit the curve of the RPSL. |
|
 |
 |
|
The finished girder notch. |
After moving the RPSL back into position and checking the fit of the two notches, we discovered that the RPSL notch needed a little fine-tuning. |
|
 |
 |
|
Not only did we need to work on "wall" of the notch... |
...but the upper flare needed to be reshaped. |
|
 |
 |
|
Finally, after many dry fits and fine-tuning, we have a nice, tight intersection. The "walls" of both notches are touching and the horizontal "roof" of the girder notch is resting on the horizontal "floor" of the RPSL notch. |
Two 1" bolts secure the notch. |
|
 |
 |
|
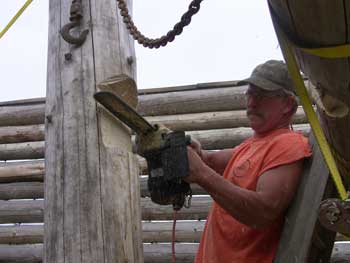
After drilling and bolting the RPSL to the 2nd floor girder through the notch we just made, the guys went to work on bolting the RPSL to the 1st floor girder. It seemed easier to drill from the girder side. |
A view from the other side with the drill bit poking through the girder and into the RPSL. |
|
 |
 |
|
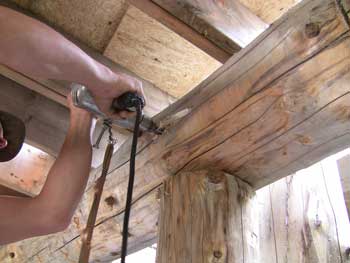
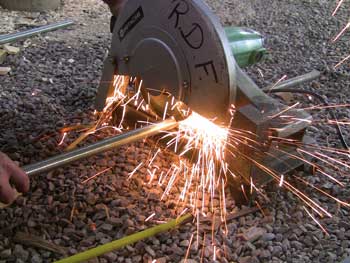
Paul cuts the 1" threaded rod to length for the single bolt at the 1st floor girder. |
Drilling a 1" hole for a 1" bolt requires a little assistance to get the threaded rod through the hole. |
|
 |
 |
|
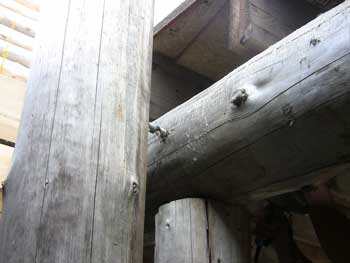
Because the RPSL stood about 2" away from the 1st floor girder, we needed a strong spacer that the bolt could travel through. A scrap piece of 1 1/2" steel pipe worked great! We even cut an angle in the RPSL end (left end) because the bolt did not hit dead center on the RPSL. |
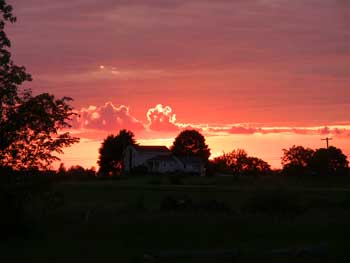
An eerie sunset over our neighbor's house. |
| <-- BACK TO CONSTRUCTION (FLOOR & ROOF) |
BACK TO OUR LOG HOME MAIN PAGE
If you have any questions about this website, e-mail us at stargazer@stargazerpics.com.
HOME | aurorae | moon & lunar eclipses | night sky shots | landscapes | animals unique shots | our wedding | Alaska 2006 | our log home | Stephen | Oliver | Alistair |
These pages and their contents Copyright © All Rights Reserved.