![]()
6-6-09
 |
 |
|
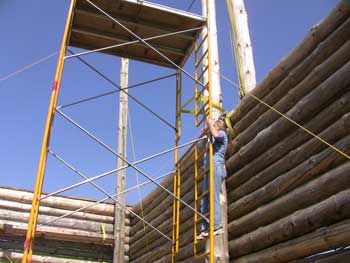
Jillena joined us this morning and wanted to get a bird's-eye view from on top of the north tower. |
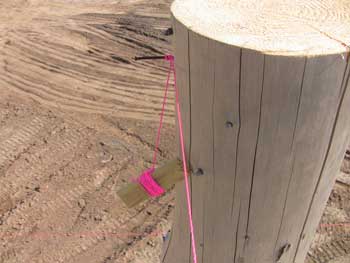
One end of the string line running from the north RPSL to the south RPSL. This string line is level and will be used to make sure the ridge pole is also level. |
|
 |
 |
|
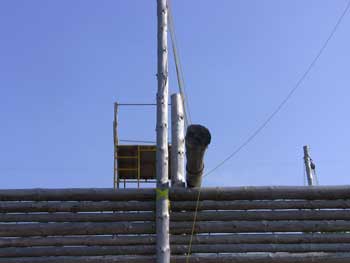
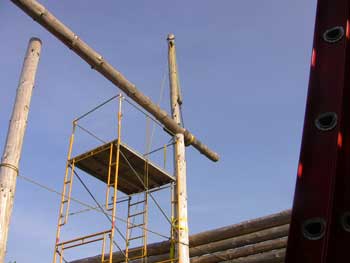
Jillena on top of the 3-section tower. The ridge pole will be just about at her head level. |
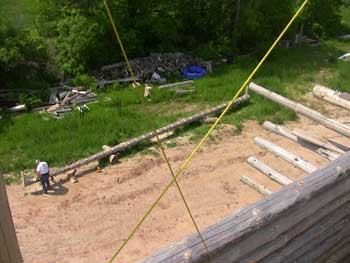
Looking down from the rear tower, now moved next to the rear inner RPSL. Bob is almost finished prepping the ridge pole. |
|
 |
 |
|
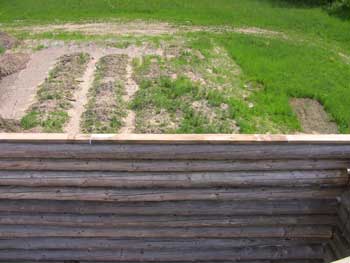
Looking down at the sill boards on the east wall. They look a lot straighter and precise from up here. |
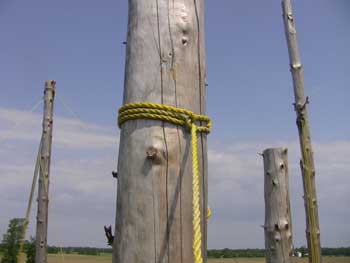
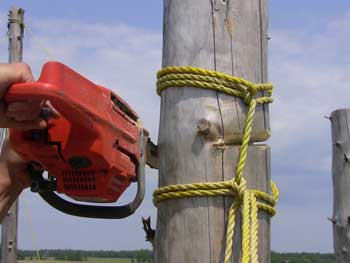
Cutting the tops off the inner RPSLs required using some tree trimming methods since we have no block & tackle to use. We'll do these in two pieces. First we secured one end of a rope just above the first cut. |
|
 |
 |
|
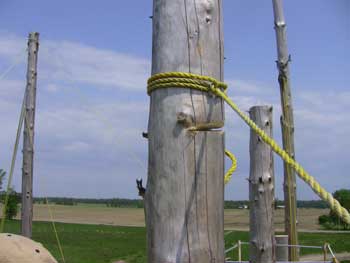
Then Paul makes a v-notch on one side of the pole. |
The v-notch cut in about half way. |
|
 |
 |
|
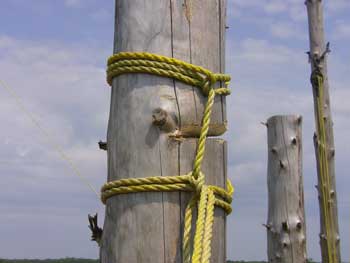
Then the rope is drawn down to below the cut and secured around the pole again. |
Next, Paul cuts in from behind the notch. That short piece of rope crossing the cut will hold the section as it drops. |
|
 |
 |
|
We're then able to just pull the section onto the scaffold. |
We took the second section down the same way although Paul cut through the notch a bit deeper this time. |
|
 |
 |
|
The rope is rigged up and we're ready to cut behind the notch. |
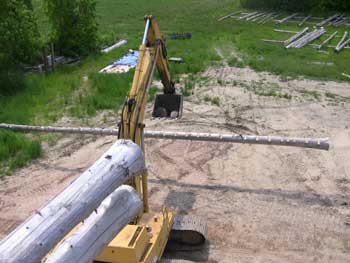
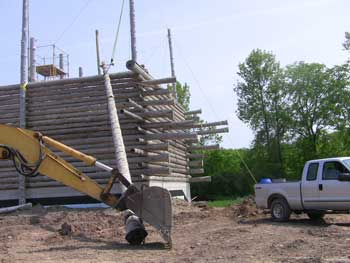
Bob's done! John fires up the excavator and picks up the ridge pole, heading around to the front of the house. |
|
 |
 |
|
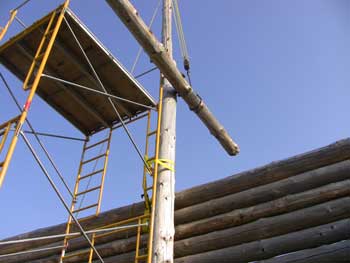
The rigging on the excavator is moved toward the butt end (left) while the block & tackle from the corner lifting pole gets hooked up about 10 feet from the top end. |
The top end is up on the wall. |
|
 |
 |
|
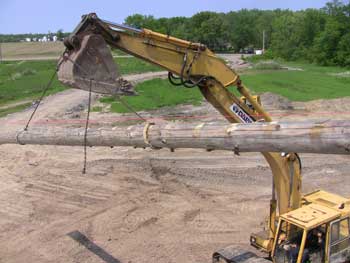
John begins to set the excavator back down to move the rigging closer to the butt end so he can push it over the wall. |
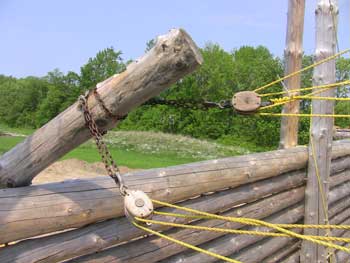
The block & tackle sets from the south wall (the corner lifting pole and the outside lifting pole) are brought across the house and connected to the top of the ridge pole. |
|
 |
 |
|
John is re-rigged at the bottom. We're ready to lift. Notice the guy rope tied to the back of the pickup. This was just for assurance since we were using the corner lifting pole to lift from a point inside the house. We needed a counter anchor. |
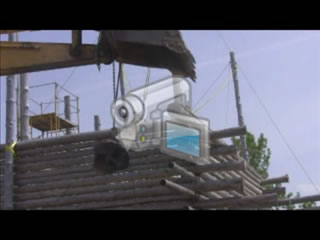
A video of the ridge pole getting set up onto the walls. (click the image to play video) |
|
 |
 |
|
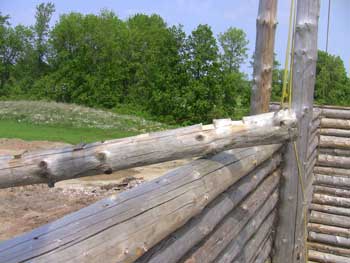
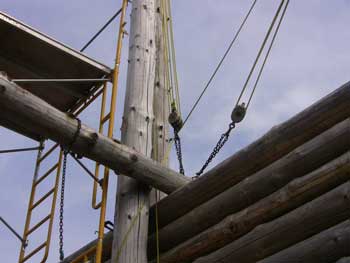
These two block & tackle sets really made things easier as they guided and supported the leading end of the ridge pole across the house. They also aided in sliding the ridge pole across the wall to the middle of the house. |
Even though we basically skidded the ridge pole over the north wall, there was no damage to the ridge pole. In this pic, we've used the outside lifting pole block & tackle to pull the ridge pole over to the middle. |
|
 |
 |
|
Now for the lift. For the top and lighter end of the ridge pole, we decided to try lifting it by hand. |
It went pretty smoothly. Before long, we had the top end set on the rear RPSL. |
|
 |
 |
|
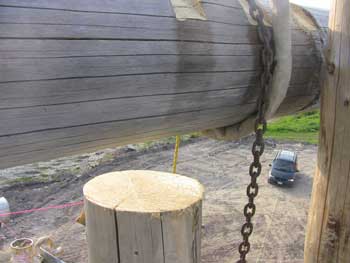
It's a little left of center because it's being pulled tight against the lifting pole. It seems our string line nail has been bent by the ridge pole. |
Instead of bringing a tractor across just to lift the butt end, Paul tied the fall line to his minivan. Here, we've got the butt end up and over the RPSL. |
|
 |
 |
|
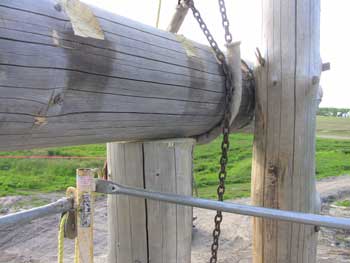
And it's down. The ridge pole is up on the outer RPSLs. We still have to fine-tune the RPSL heights and bring the inner RPSLs under the ridge pole, but the log lifting is done! |
Video of the north end of the ridge pole getting set up on the RPSL. (click on the image to play video) |
|
 |
 |
|
Looking back across the ridge pole with the inner RPSLs still tipped out of the way. |
View of the ridge pole looking up from the first floor. (click image to play video) |
|
 |
||
A picture of success! |
| <-- BACK TO CONSTRUCTION (FLOOR & ROOF) |
BACK TO OUR LOG HOME MAIN PAGE
If you have any questions about this website, e-mail us at stargazer@stargazerpics.com.
HOME | aurorae | moon & lunar eclipses | night sky shots | landscapes | animals unique shots | our wedding | Alaska 2006 | our log home | Stephen | Oliver | Alistair |
These pages and their contents Copyright © All Rights Reserved.