![]()
6-5-09
 |
 |
|
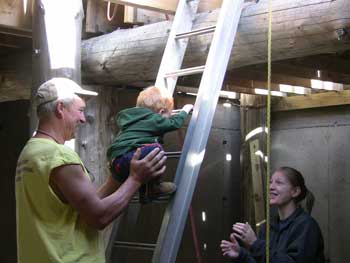
Stephen displayed his ambition to help Paul and Jeff by heading up the ladder all by himself. In this picture, Paul is not acutally holding onto Stephen. |
He figured this out rather quickly, climbing up one more rung before Mommy decided he ought to come down before she couldn't reach him. |
|
 |
 |
|
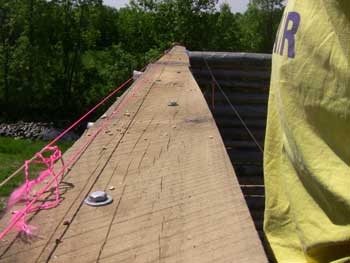
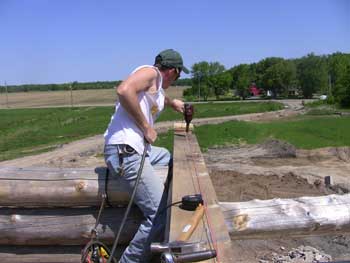
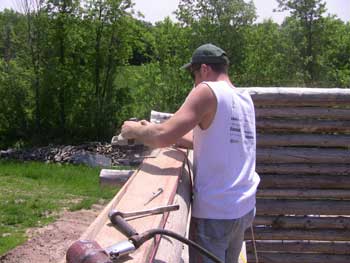
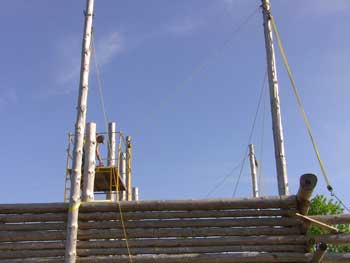
Up on the east wall again today, picking up where they left off last weekend when the wind drove them to quit early. You can see the staggered bolt pattern here. |
Continuing on with the next sill board. |
|
 |
 |
|
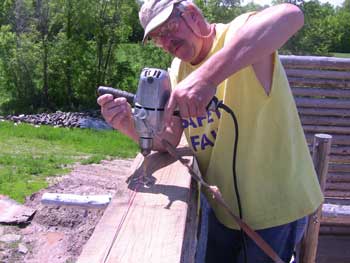
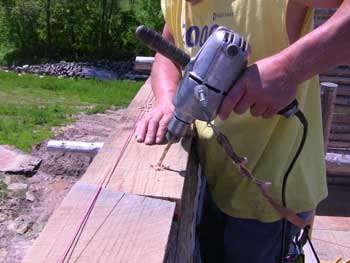
Paul pre-drills one of the bolt holes near the outside edge of the sill. |
For the bolts closer to the inside edge, we pitched them so that they would hold the sill boards securely if they weight of the rafters every caused them to rock toward the outside. |
|
 |
 |
|
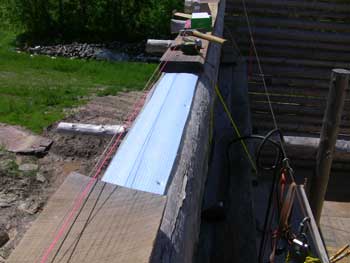
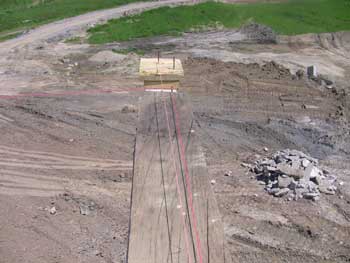
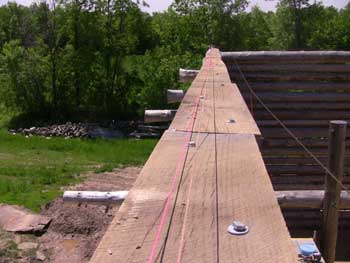
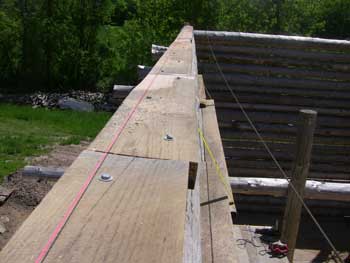
The rest of the sill boards are laid down except for the last one that needs to be measured and cut to length. This end board is pushed all the way out to the nail marking the edge of the roof. |
Paul driving one of the inner pitched bolts with the impact wrench. |
|
 |
 |
|
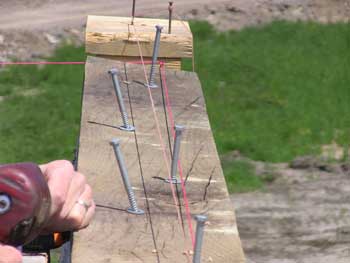
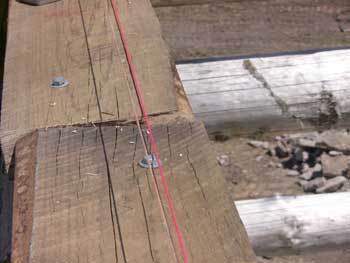
The bolts sitting in the holes in the last sill board. |
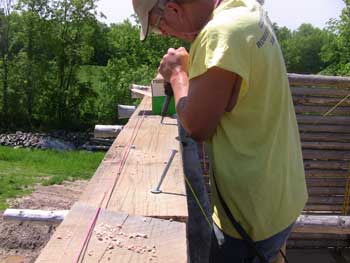
Jeff reaches out to drive one of the outer vertical bolts. |
|
 |
 |
|
The bolting is done. |
Now to clean up the raised areas of the joints. Here, the board in the upper part of the picture has a twist to it, which causes its end to be higher than its adjacent board. |
|
 |
 |
|
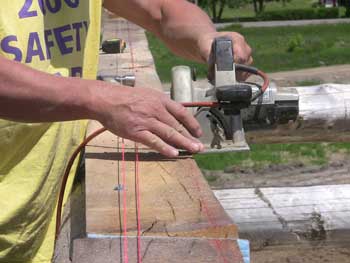
At another joint, we've got two boards that are not the same width. |
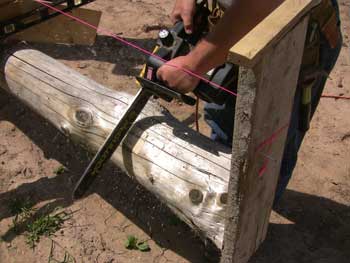
So we snapped a chalk line and took off the edge the wider board. The old Black & Decker circular saw had a hard time with this rough-cut lumber. |
|
 |
 |
|
A little later, the cord on the circular saw needed a little repair, so while Paul worked on that, Jeff tried to keep cutting with the reciprocating saw. Even with the roughest wood blade, it was no match for this hard oak. |
So as soon as possible, it was back to using the circular saw. |
|
 |
 |
|
After all the trimming and planing, we had a nice straight edge for the pitch brackets. |
Back on the ground, Bob was beginning to work on the rafter locations on the ridge pole, notching some and shimming others. |
|
 |
 |
|
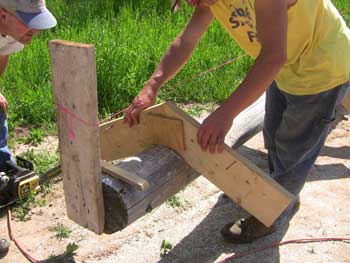
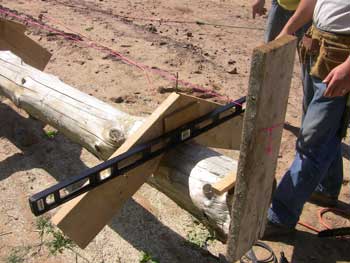
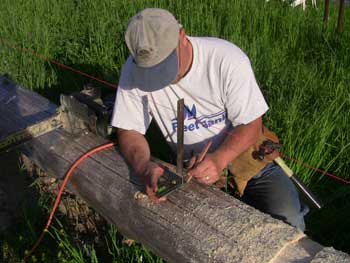
Bob made up some jig templates representing our 6/12 roof pitch to help us achieve the proper pitch for the rafter locations. |
We then placed two nails in one of the templates, directly across from each other to set the 4ft. level on. This assured the template was placed level on the ridge pole every time. |
|
 |
 |
|
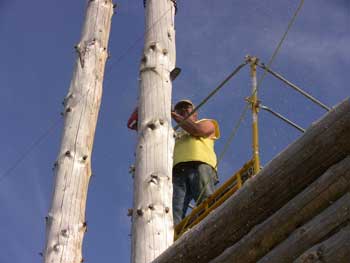
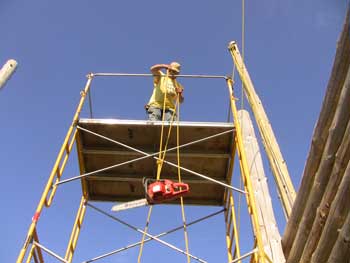
Paul and Jeff then went back up on the scaffolding to work on cutting the RPSLs down closer to their final height. Using measurements from the plans, Paul marks the final height of the front RPSL... |
...then cuts an inch or so above that mark. |
|
 |
 |
|
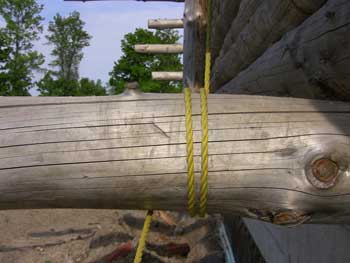
Using the block and tackle from the outside lifting pole, we were able to safely lower the section to the ground. |
Jeff easily lowered the section from the ground by having the fall line wrapped twice around an overdangle as a brake. |
|
 |
 |
|
We're done with the front RPSL, now on to the rear one. |
A view from up on the rear scaffold tower looking down on Bob's masterpiece. Looks like he started at the butt end. |
|
 |
 |
|
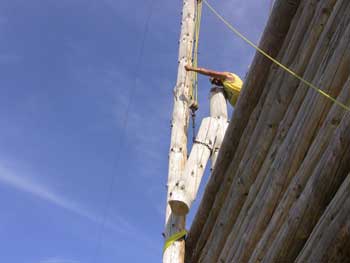
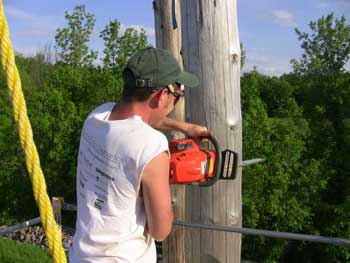
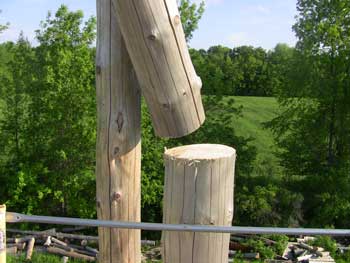
Jeff makes the cut in the rear RPSL, an inch or so above its final height. |
The block & tackle on the outside lifting pole, and a short strap around the top of the RPSL safely hold the top secure while Jeff made the cut. |
|
 |
 |
|
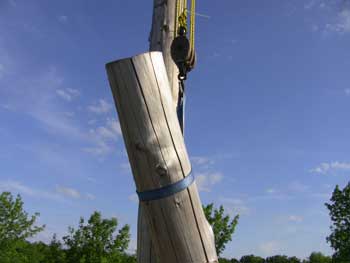
A little tension on the fall line by Paul made sure the weight of the cut section didn't pinch the saw bar. |
Paul holds the cut section while Jeff takes a few pictures. Hope that thing isn't too heavy, Paul! |
|
 |
 |
|
Lowering the tools. We're all done up there for now. |
Back outside, Bob has made some serious progress on the ridge pole. |
|
 |
 |
|
Each rafter location is referenced for height against a string line above the pole. |
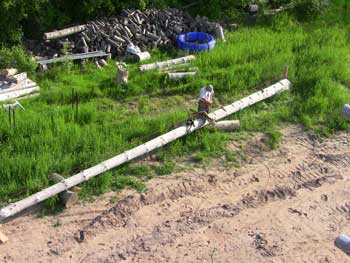
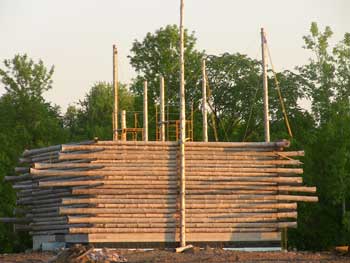
This is how things looked at the end of the day. The front and rear RPSLs are cut lower than the middle two. After we cut the inner RPSLs down a little, we'll be ready to set the ridge pole. |
| <-- BACK TO CONSTRUCTION (FLOOR & ROOF) |
BACK TO OUR LOG HOME MAIN PAGE
If you have any questions about this website, e-mail us at stargazer@stargazerpics.com.
HOME | aurorae | moon & lunar eclipses | night sky shots | landscapes | animals unique shots | our wedding | Alaska 2006 | our log home | Stephen | Oliver | Alistair |
These pages and their contents Copyright © All Rights Reserved.