![]()
5-8-09
 |
 |
|
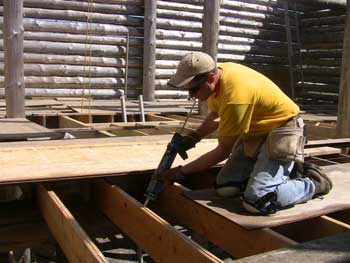
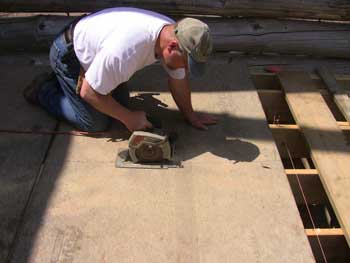
Bob cuts the last full panel in the second row. |
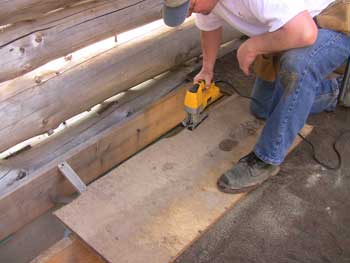
After scribing the short piece to fit against the log, Bob cuts the edge with the jigsaw. |
|
 |
 |
|
It's a good fit. Now to apply the adhesive. |
A bead for the rim joist. |
|
 |
 |
|
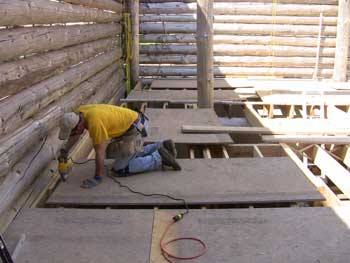
Starting back at the west end on the third row. We began at the 4th joist with a full panel. Those new kneepads sure make a difference. |
Laying adhesive for the next panel. |
|
 |
 |
|
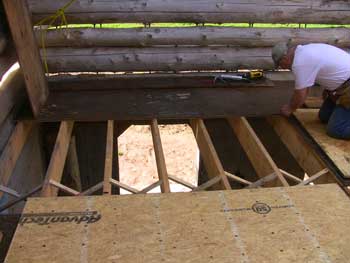
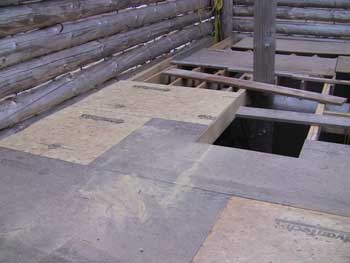
Three rows of panels complete, except for the west end where we need to set a short panel against the wall. |
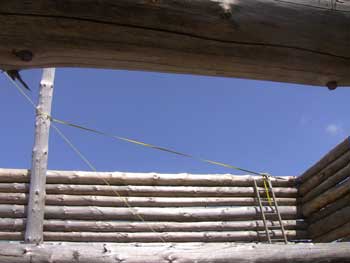
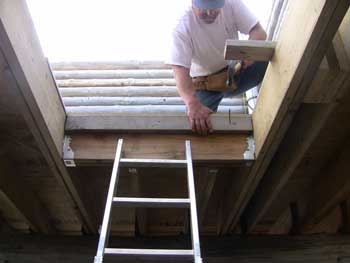
Here's an inside look at the ratchet strap holding the front RPSL plumb. |
|
 |
 |
|
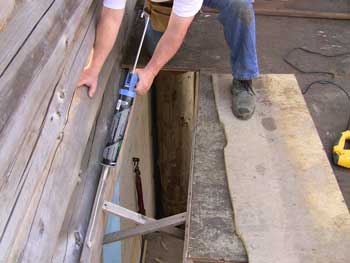
Here's Bob transferring the log profile onto the short panel with the scribe. |
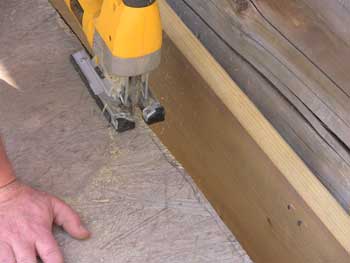
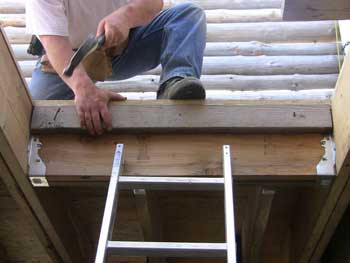
Cutting the scribe line. |
|
 |
 |
|
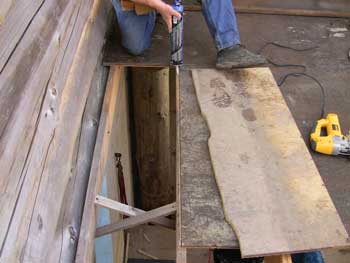
With a good fit against the log, Bob cuts the panel at the 4th joist mark. |
Starting the 5th row at the west end, Jeff cuts the scribe line. |
|
 |
 |
|
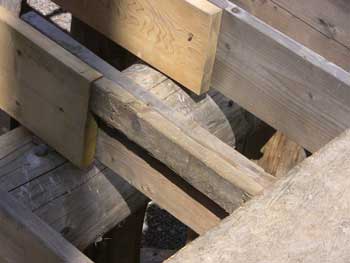
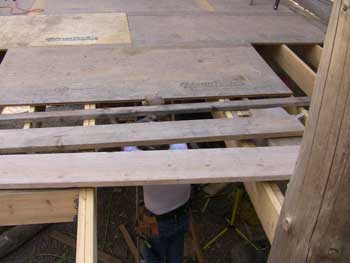
In this row, the panels will be laying over the joist lap joints, so the guys nailed a short 2x4 extension to the rear joist at each panel joint location. |
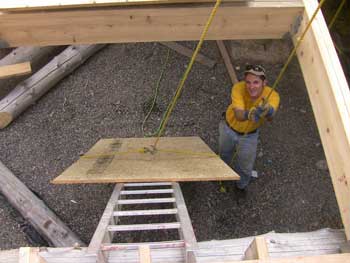
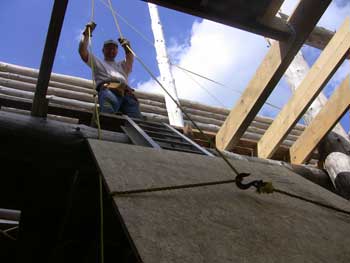
Time to bring up a few more panels. Using a ladder and the tool pulley, Jeff rigged up the rope and hook and pulled from the basement... |
|
 |
 |
|
...while Bob pulled from the first floor and handled the panels once they were raised. |
Measuring off the first panel row, a string line was set to ensure the panels continue to be laid with a straight edge. |
|
 |
 |
|
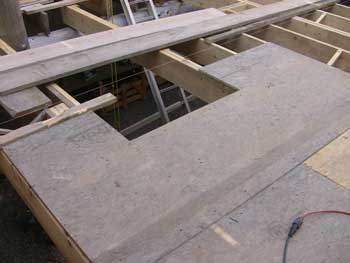
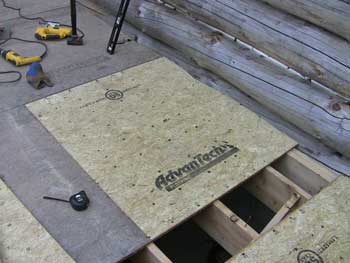
The 4th row brings us near the middle of the house. They could only lay one more full panel in the 4th row because the center RPSLs still need to be set. The 5th row began with a full panel containing a cutout for the stairwell opening. With it temporarily set in place, Bob outlines the stairwell opening on the panel from below. |
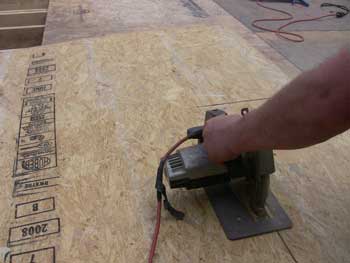
With the panel flipped over, Bob cuts one of the sides of the opening... |
|
 |
 |
|
...and the front of the opening. |
The adhesive has been applied to the joists and the panel is ready to be set. |
|
 |
 |
|
We had a lot of trouble getting the tongue of this panel to fit into the groove of the adjacent panel. We actually had to remove part of the tongue. You can also see how mangled our "beater board" got from pounding it with the 4-lb. mallet. In the end, it was a pretty decent fit. |
We purposely left a lip of about an inch and a half over the stair ledger, to account for any additional material we may attach to the ledger when installing the staircase. So we nailed a 2x4 to the ledger under the lip to help protect this extra panel material. |
|
 |
 |
|
A closeup of Bob's fine nailing. |
After Bob left for the day, Jeff continued working on the area between the wall and the stairwell. Here he's scribing the log profile onto the short panel that needs to fit between the wall and the full stairwell panel. |
|
 |
 |
|
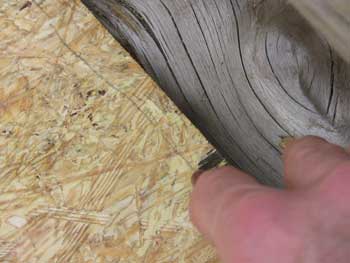
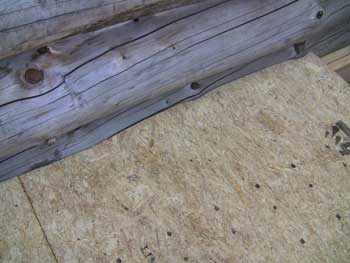
After trimming and re-trimming, finally a nice fit! |
You can see the stark contrast in the weathered panels that have been up on the first floor all winter, and the panels that were brought up from the basement that have been covered. |
|
 |
 |
|
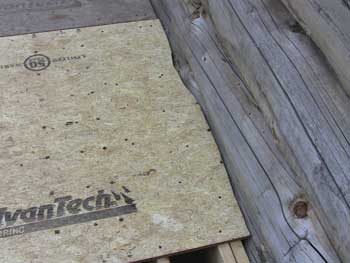
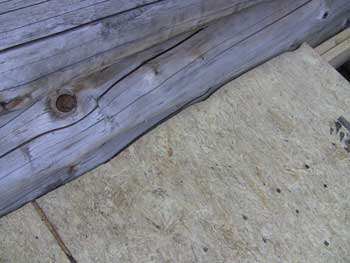
Jeff has made the scribe line on the next panel (barely visible in the picture). |
The taper of the log is very evident in the scribed cut of this panel. Here, the panel is laid up against the log for a dry fit. |
|
 |
 |
|
Now it's glued and screwed down. |
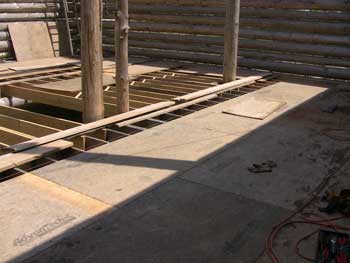
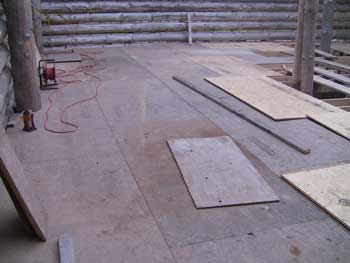
The progress so far. Most of the rear third is finished... |
|
 |
 |
|
...as well as the area between the wall and the stairwell. |
From the opposite side of the house, you can see how much work still needs to be done. |
| <-- BACK TO CONSTRUCTION (FLOOR & ROOF) |
BACK TO OUR LOG HOME MAIN PAGE
If you have any questions about this website, e-mail us at stargazer@stargazerpics.com.
HOME | aurorae | moon & lunar eclipses | night sky shots | landscapes | animals unique shots | our wedding | Alaska 2006 | our log home | Stephen | Oliver | Alistair |
These pages and their contents Copyright © All Rights Reserved.