![]()
5-1-09
 |
 |
|
Before Bob arrived, Jeff cut the remainder of the SE lifting pole below the floor and he and his dad took the section out. |
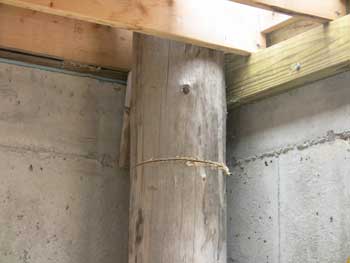
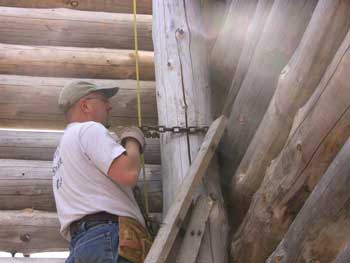
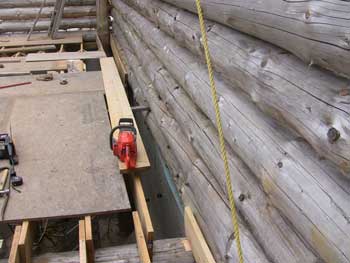
When Bob arrived and they began working on the joists, they noticed that the SW lifting pole was too tight against the west wall to fit a ledger board behind it, so they had to loosen the safety chain and pull the pole away from the wall. |
|
 |
 |
|
The "before" shot of the pole tight against the first log where the rear rim joist needs to nail into. |
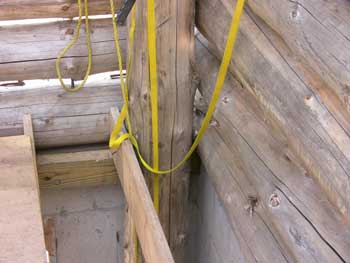
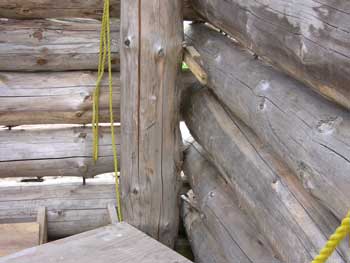
The "after" shot, showing the shim boards they put behind the pole after pulling the pole toward the east by tugging on its guy rope. |
|
 |
 |
|
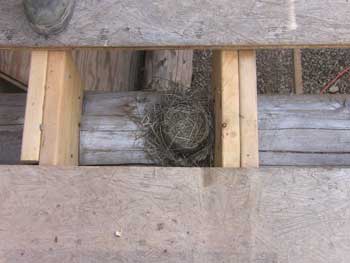
Sliding one of the floor panels aside revealed yet another nest. This is the third one in just a few weeks. We're taking them down and saving them. |
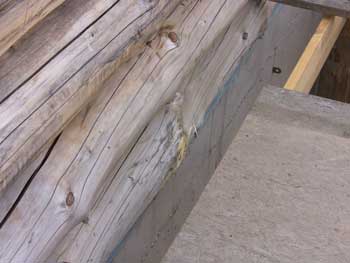
The center rim joist wouldn't fit against the log flush enough, due to some large knots... |
|
 |
 |
|
...so we had to shave them down a bit. |
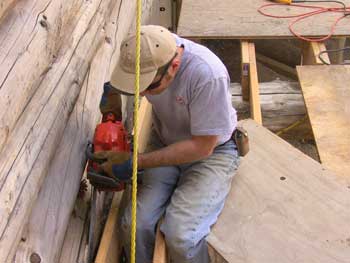
Before installing the center rim joist, the guys worked on the previous two, notching the rear girder to get the joists level. |
|
 |
 |
|
The electric saw was perfect for this type of fine cutting. |
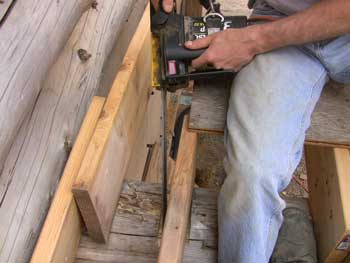
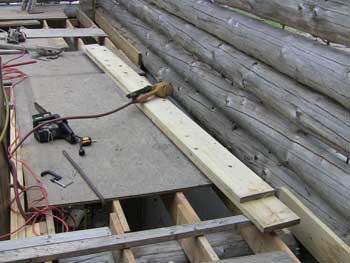
The rear rim joist is nailed in place (upper area of picture). Here, Jeff is about to nail the front end of the last full-length joist. |
|
 |
 |
|
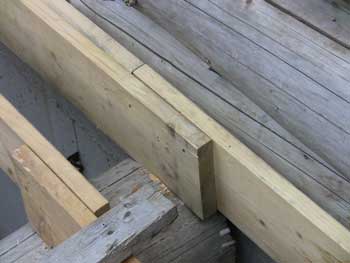
This end needed a double rim joist in the center section, just like at the east end. Jeff cut the shorter outer board and nailed it to the full board...
|
...then just set it against the wall for a tight lap joint on both ends. Except for the cross braces in the last few joist bays, the floor framing is now finished! |
| <-- BACK TO CONSTRUCTION (FLOOR & ROOF) |
BACK TO OUR LOG HOME MAIN PAGE
If you have any questions about this website, e-mail us at stargazer@stargazerpics.com.
HOME | aurorae | moon & lunar eclipses | night sky shots | landscapes | animals unique shots | our wedding | Alaska 2006 | our log home | Stephen | Oliver | Alistair |
These pages and their contents Copyright © All Rights Reserved.