![]()
9-6-08
 |
 |
|
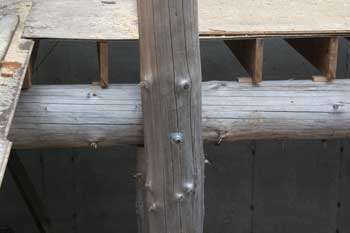
A look at our accomplishment from yesterday. The bolts did not perfectly line up at the "exit" end of the holes. We call it "character". |
A single bolt was installed where the GSL passed by the 1st floor girder, just for added stability. |
|
 |
 |
|
Before we can mark the exact location of the notch on the GSL, we need to take the natural sag out of the center of the girder. We brought in a piece of a log we weren't using... |
...and a bottle jack on top. Our post and jack were placed under the girder at its lowest point. To find that, we ran a string line across the top of the girder and measured down to the girder. |
|
 |
 |
|
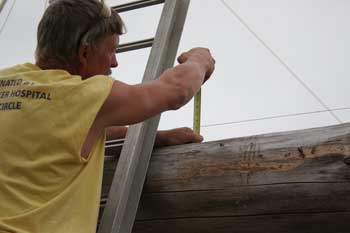
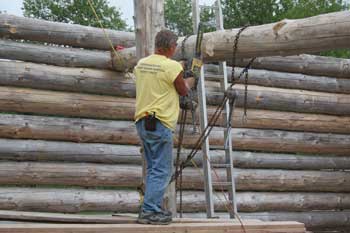
The girder was 3" lower at this spot than at the ends. Here, Paul checks the girder against the string line after jacking up the low spot. |
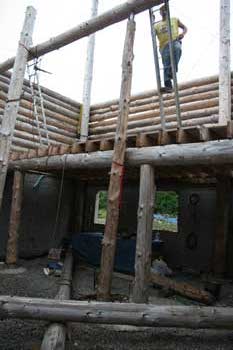
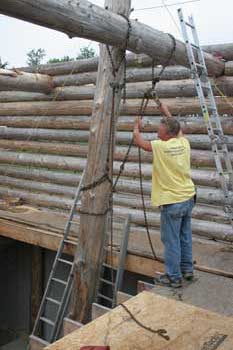
We've marked the location of the notches. Paul is positioning the chain winches in preparation of tipping the GSL to work on the notches. |
|
 |
 |
|
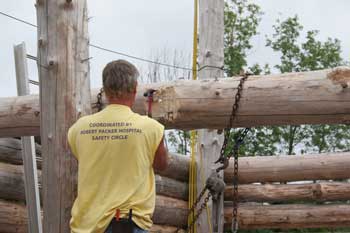
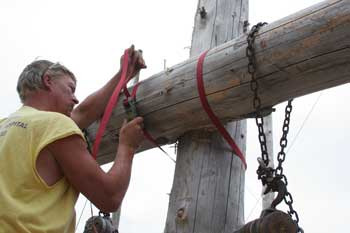
We've also added a ratchet strap below the winch points and connected to the near wall to help hold the GSL in place while tipped. |
Jeff carved the notches yesterday, so Paul worked on this one, starting again with the girder notch. |
|
 |
 |
|
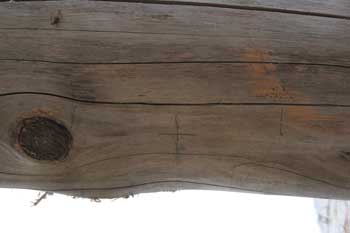
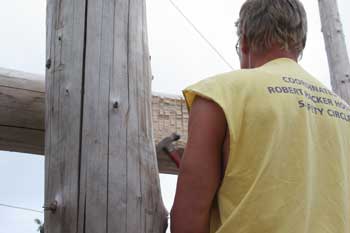
The center line on the girder that should match back up with the GSL when the notches are finished and the logs are fitted back together. |
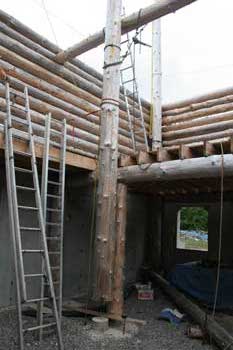
Working off our temporary scaffold, Paul continues rough-cutting the girder notch. |
|
 |
 |
|
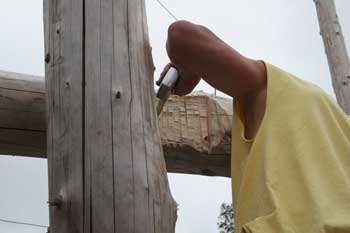
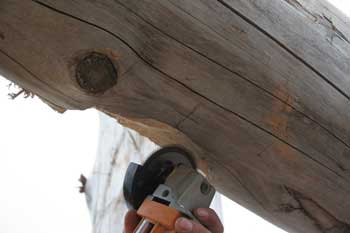
Knocking out the wood chunks. |
Shaping the notch with the chainsaw wheel. |
|
 |
 |
|
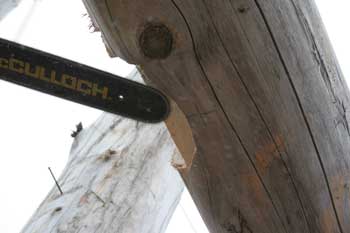
Checking the depth of the notch to see if we're at 2 inches. |
Not quite 2 inches, so Paul cuts a little deeper. |
|
 |
 |
|
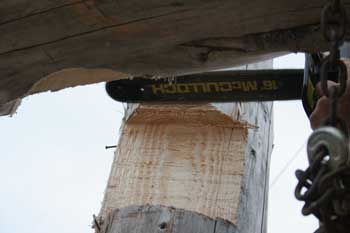
Carving the shelf in the girder notch. |
Paul also used the chainsaw on this shelf to get a better consistent surface. |
|
 |
 |
|
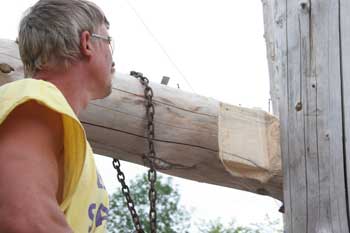
Preparing for a fit check. |
Taking a little more off the girder notch. |
|
 |
 |
|
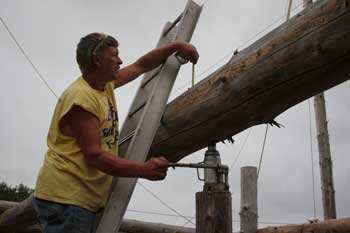
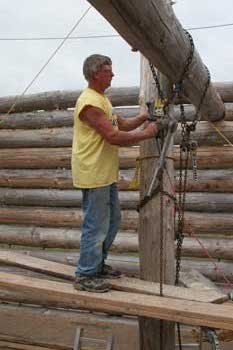
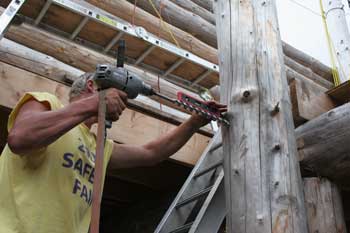
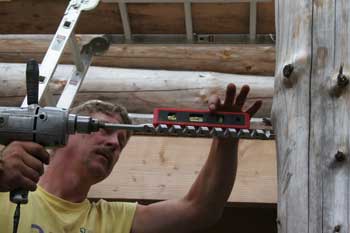
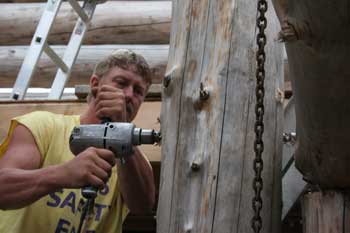
We have a good fit! This time Paul started drilling at the 1st floor girder. |
Before drilling, we had to ensure a level hole. |
|
 |
 |
|
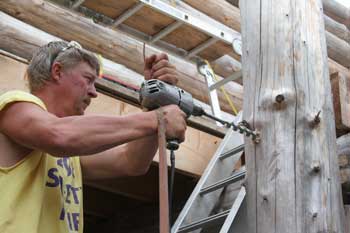
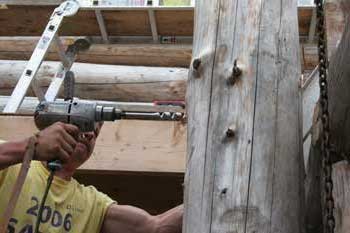
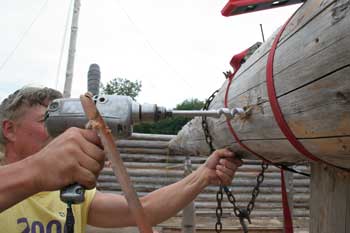
Starting the hole. |
Reaming the hole out helps the drill bit do its job. |
|
 |
 |
|
We have about a 1 1/2" gap between this GSL and its adjacent 1st floor girder. This will be filled with a custom-cut shim block. |
With a strap cinching the notches together, Paul starts drilling the first of the two holes at the 2nd floor girder. |
|
 |
 |
|
The logs get separated again to finish drilling the holes through the GSL. |
Putting the two back together before bolting the intersection. |
|
 |
 |
|
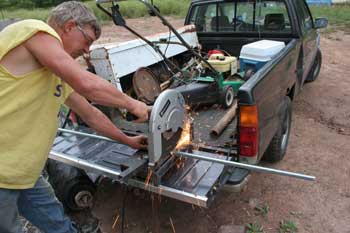
Because the 1" all-thread is fitting into a 1" hole, we have to punch the all-thread through. |
Cutting one more stick of all-thread for the single bolt at the 1st floor girder. |
|
 |
 |
|
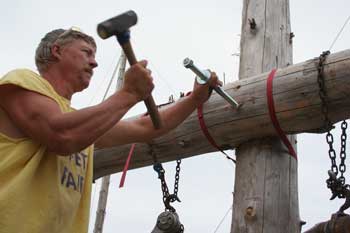
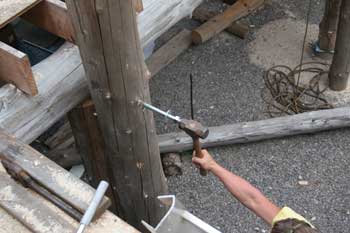
Tapping the bolt through the single 1st floor hole. |
Finished! Both GSLs are installed. |
| <-- BACK TO LOG STRUCTURE (PAGE 3) |
BACK TO OUR LOG HOME MAIN PAGE
If you have any questions about this website, e-mail us at stargazer@stargazerpics.com.
HOME | aurorae | moon & lunar eclipses | night sky shots | landscapes | animals unique shots | our wedding | Alaska 2006 | our log home | Stephen | Oliver | Alistair |
These pages and their contents Copyright © All Rights Reserved.