![]()
9-5-08
 |
 |
|
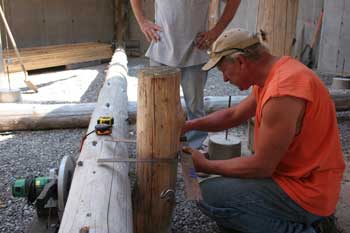
Since the double notch we'll carve at the intersection of the GSL and girder needs to be as precise as possible, Bob suggested doing a trial run on a smaller scale. Here, Paul measures the diameter of the model GSL. |
Transferring the GSL diameter to the girder. |
|
 |
 |
|
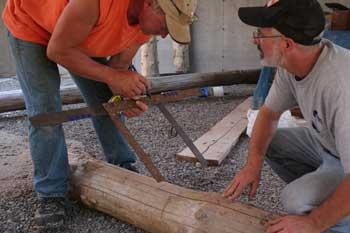
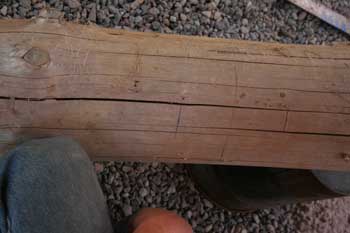
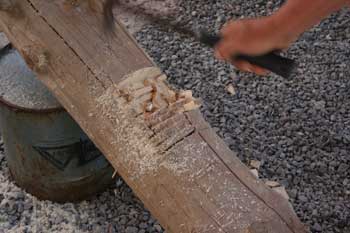
Using a pencil, we marked the borders of the notches on both logs. |
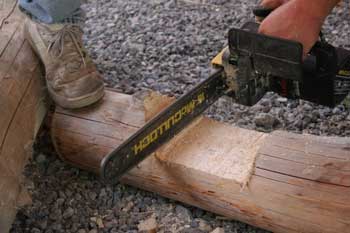
Jeff began by rough-cutting the girder notch first. Making a bunch of parallel cuts worked great, just like we did on the earlier saddle notches. |
|
 |
 |
|
Using a hammer t knock out the wood chunks. |
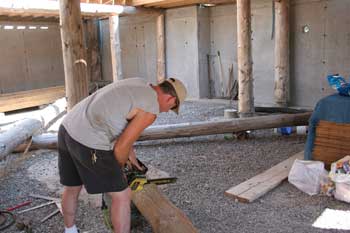
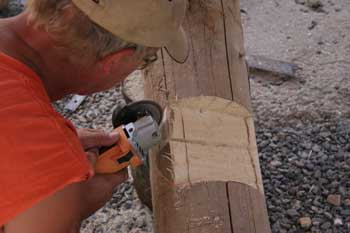
Paul using the chainsaw wheel to carve the 2-inch "shelf" in the bottom of the girder notch. This will sit on a 2-inch matching shelf in the GSL notch when they are fitted together. |
|
 |
 |
|
The shelf provides a flat load-bearing surface for extra support when we eventually add a second floor sometime in the future. |
Planing the back surface of the GSL notch. |
|
 |
 |
|
More planing of the GSL notch to get it to the proper depth. |
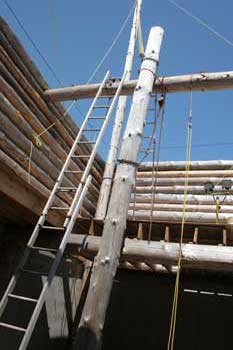
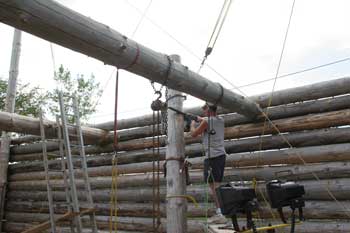
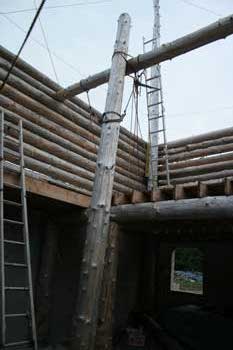
After figuring out how to get the sample notch to fit snug, it was time to go to work on the real thing...in the air. The chain winches held the GSL to one side of the notch location so we could start carving the girder. |
|
 |
 |
|
We put together a temporary scaffold to get into the best working position. |
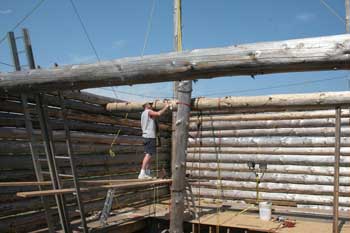
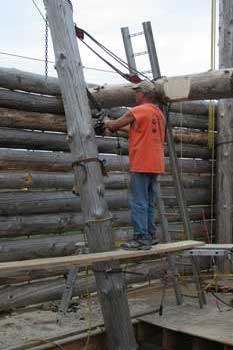
After marking notch measurements on the GSL and girder, Jeff rough-cut the girder notch and knocked out the wood chunks. |
|
 |
 |
|
Using the chainsaw wheel to carve the 2" shelf in the bottom of the girder notch. |
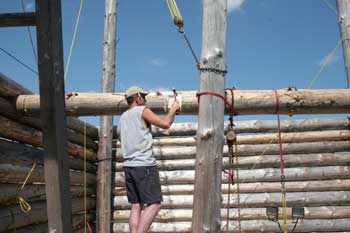
With the chain winches holding the GSL away from the girder, we switched to carving the GSL notch. |
|
 |
 |
|
Knocking out wood chunks. |
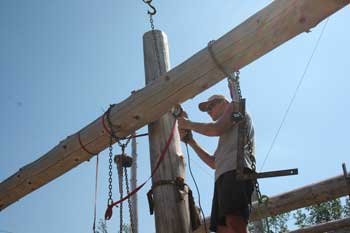
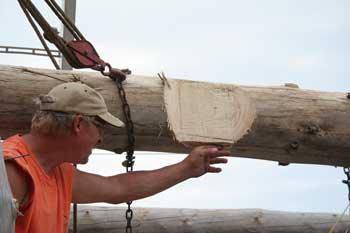
After moving the GSL back into position to check the fit of the notches, Paul does some fine trimming on the GSL notch. |
|
 |
 |
|
Paul checks the surface of the girder shelf. |
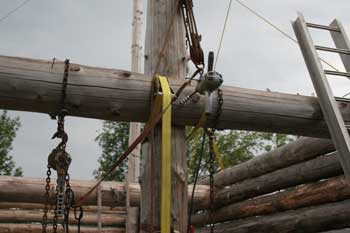
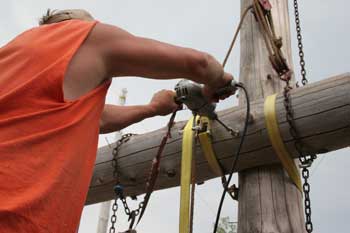
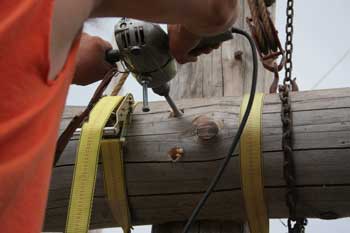
Fitting the two poles together this time proves to successful. A strap is cinched around the intersection to pull the notches together very tightly while we begin drilling two holes for the bolts. |
|
 |
 |
|
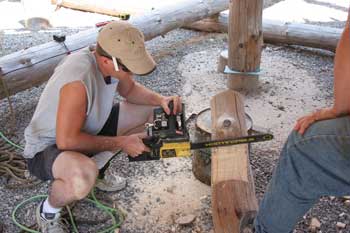
Paul drills the first 1" hole with an 18" bit from the girder side, drilling in as far as the bit will travel. It's too short to make it all the way through... |
...so we'll have to separate the two poles and finish drilling through the GSL. |
|
 |
 |
|
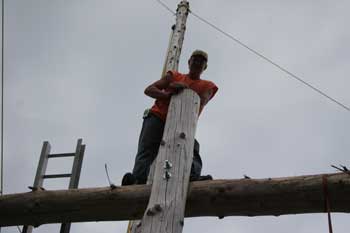
Paul poses on top of the girder after installing the two bolts. The bolts are 1" all-thread with nuts and washers on each end. We've kept the GSLs about 2 feet taller than their eventual finished height. |
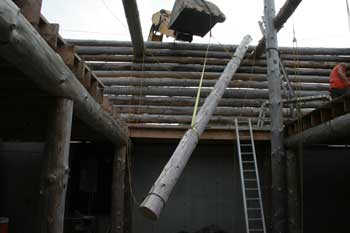
With some daylight left, we decided to get the 2nd GSL into the house and propped up near its pier. |
|
 |
 |
|
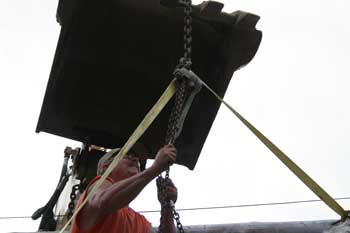
Paul hooks up one of the chain winches to the bucket's chain, so that the lifting strap can be removed. |
At the opposite end of the other 2nd floor girder, the other GSL sits on the floor next to its pier. |
| <-- BACK TO LOG STRUCTURE (PAGE 3) |
BACK TO OUR LOG HOME MAIN PAGE
If you have any questions about this website, e-mail us at stargazer@stargazerpics.com.
HOME | aurorae | moon & lunar eclipses | night sky shots | landscapes | animals unique shots | our wedding | Alaska 2006 | our log home | Stephen | Oliver | Alistair |
These pages and their contents Copyright © All Rights Reserved.