![]()
9-4-08
 |
 |
|
Paul gets ready to replace a lifting pole safety chain and move it to a higher point on the pole. |
Having only short pieces of chain to work with, Paul and Jeff simply bolted them together to make the tightest length possible. |
|
 |
 |
|
Lifting the last log for course #12. You can see that the girders are higher than the wall log sections, so a saddle notch will have to be cut at the girders. |
There's Jeff's cousin, Ryan, hauling some brush from across the road to the burn pit. You can also see our new tow strap secured with a piece of rebar, which replaced the chain slings. The straps are much easier to remove once the log is set. |
|
 |
 |
|
Thats Jeff on the left girder and Paul on the right, carving the saddle notches for the girders. |
They have the wall log rolled bottom side up to carve the notches so they can just roll it back into place to check for fit. |
|
 |
 |
|
Jeff's using the electric chainsaw while Paul uses the chainsaw cutting wheel on the angle grinder. |
The wall log has been rolled back into place and it's a good fit at the girder notches. Paul has begun drilling for the rebar pins. |
|
 |
 |
|
Paul looks like a silhouette against the bright sky. |
The wall log is pinned. Time to start bringing in the first GSL. The excavator has ahold of the pole at approximately the balance point... |
|
 |
 |
|
...while Paul guides the butt end with a tag line. |
We've got it lowered part way. |
|
 |
 |
|
Now to connect two chain winches which are secured to the girder, one on each side of the final position of the pole. |
Leaving the excavator holding the pole, Jeff comes back inside to check on Paul's progress. |
|
 |
 |
|
Both chain winches are connected. |
Next will be to lift the pole enough with the winches to take pressure off the bucket's chain so we can back the excavator out. |
|
 |
 |
|
A little adjusting of the chain orientation... |
...and begin winching. |
|
 |
 |
|
Jeff takes the tag line to hold the butt end over the pin... |
...while Paul backs the winches off to lower the log. The hole has not yet been drilled in the bottom for the rebar pin. It will just rest slightly on the pin itself so Jeff and Paul can take more accurate measurements before marking where two notches need to be cut. |
|
 |
 |
|
John and Jeff take a diameter measurement near the bottom of the GSL. |
Paul and John hold the GSL steady while Jeff does a little minor trimming. |
|
 |
 |
|
Turkeyys out in the west hayfield. |
The plumb bob hangs in front of the pole while Jeff checks to see where the pin is hitting under the log. |
|
 |
 |
|
Taping off from the front wall to the center of the pin. All of these measurements are critical for the hole to be drilled in the right spot for the pin. It's not as simple as just centering the hole in the bottom. The GSL and 2nd floor girder will each be notched 2" and bolted together. The 1st floor girder will also be bolted with no notch. With the GSL vertical and plumb, it must touch the 1st floor girder 9 feet up, and have a tight fit at the notch in the 2nd floor girder 18 feet up. Plus, the GSL tapers on the way up! |
With everything calculated and the hole drilled in the right spot, Paul works the winches to lower the GSL onto the pin while Jeff guides the hole to the pin. That's enough for one day! |
|
 |
 |
|
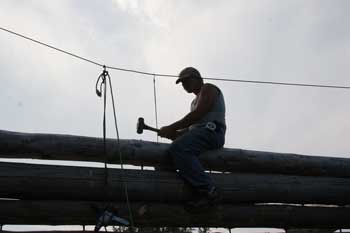
Paul controls a tag line tied to the bottom of the GSL and guides it over the wall while Jeff lifts it with the excavator. (click the image to watch video) |
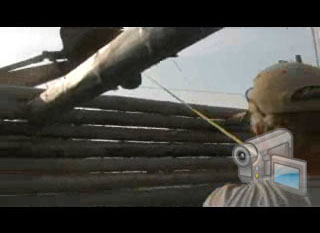
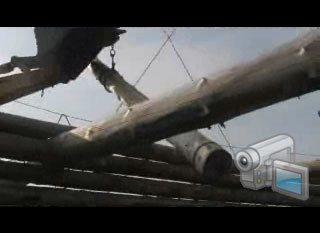
Bringing in a log over the wall by one lifting point is a slow and steady process. Once over the wall, the log needs to be oriented vertically for installation. (click the image to watch video) |
|
 |
||
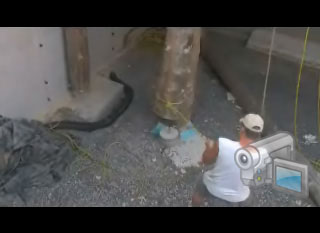
Once vertical and secured to the girder with the chain winches, Jeff came in to control the tag line and position the butt end over the pin in its concrete pier. (click the image to watch video) |
| <-- BACK TO LOG STRUCTURE (PAGE 3) |
BACK TO OUR LOG HOME MAIN PAGE
If you have any questions about this website, e-mail us at stargazer@stargazerpics.com.
HOME | aurorae | moon & lunar eclipses | night sky shots | landscapes | animals unique shots | our wedding | Alaska 2006 | our log home | Stephen | Oliver | Alistair |
These pages and their contents Copyright © All Rights Reserved.