![]()
4-5-09
 |
 |
|
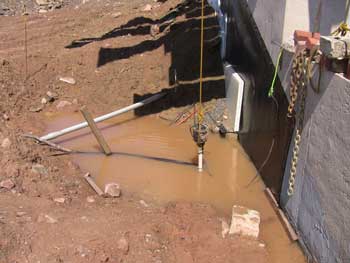
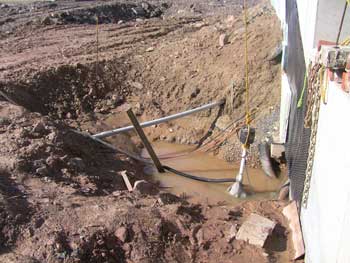
First order of business - start pumping out the water that accumulated from the rain yesterday. |
It took a few hours, but the water finally got down to an acceptable level. |
|
 |  |
|
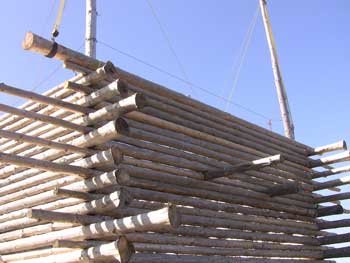
The NW corner, showing how the cap log extends well beyond an overdangle already cut to its final length. This is roughly how far the gable end of the roof will overhang the house. |
The east cap log now sits nicely on the wall after removing the south shim and putting a shorter shim under the north corner. |
|
 |
 |
|
The new shorter 3/4" shim block under the north end of the east cap log. |
Looking south down the cap log you can see the gap the shim creates only under the north half of the log. |
|
 |
 |
|
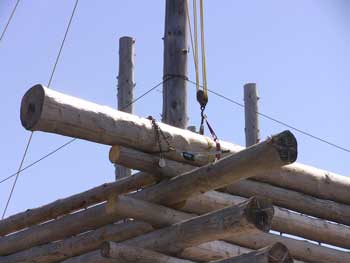
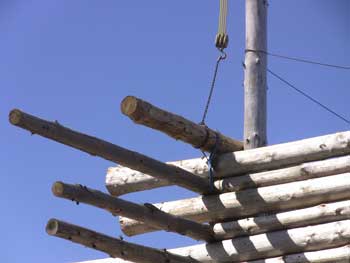
Looking up at the SE corner, showing the other location where a cap log overdangle rests on another overdangle directly beneath it. |
Compare that to the SW corner where the cap log creates a normal butt-n-pass corner. |
|
 |
 |
|
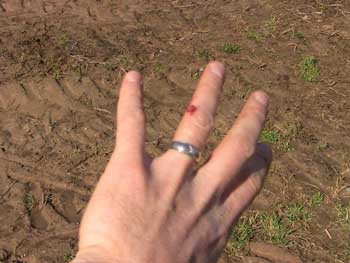
Uh oh! The only injury in a few weeks. Jeff doesn't know how this happened, so it must not be too serious. Hey, Jeff! Wear some gloves! |
All pins are now in the east cap log which means... The east wall is completely finished! |
|
 |
 |
|
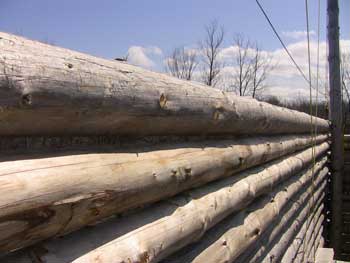
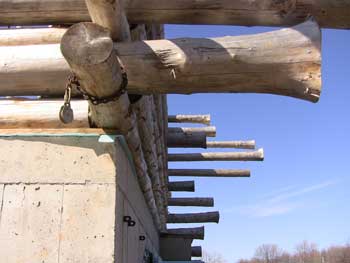
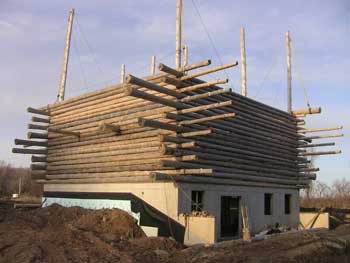
Looking down the east wall, you can see how uneven, or out-of-plumb the logs look. You can also see this in the bit of south wall in the left of the pic. This is caused mostly by the large taper in the logs, and also because the INSIDE of the walls are plumb. |
Almost finished with the walls! The west cap log just needs to be pinned, then the north and south logs can go up. |
| <-- BACK TO LOG STRUCTURE (PAGE 3) |
BACK TO OUR LOG HOME MAIN PAGE
If you have any questions about this website, e-mail us at stargazer@stargazerpics.com.
HOME | aurorae | moon & lunar eclipses | night sky shots | landscapes | animals unique shots | our wedding | Alaska 2006 | our log home | Stephen | Oliver | Alistair |
These pages and their contents Copyright © All Rights Reserved.