![]()
FRAMING & DRYWALL
11-4-11
 |
 |
|
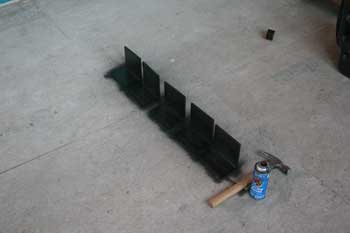
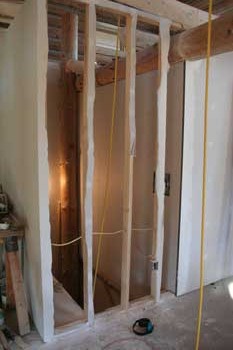
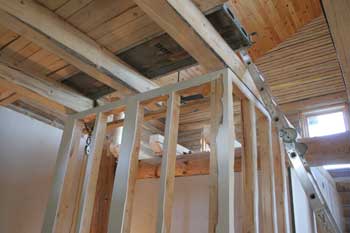
| The brackets we used are of the same type used for the 2nd floor joist beams. They are 5/16"-thick 4"x6" angle iron sections cut at 6" wide. | One of the two temporary walls with the drywall torn out. | |
 |
 |
|
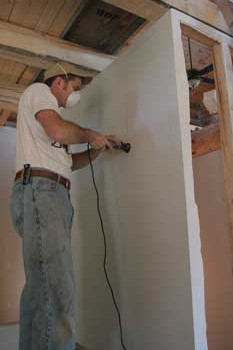
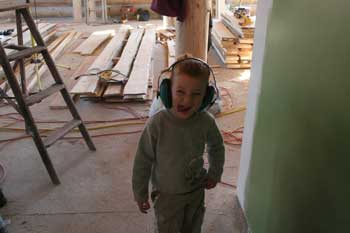
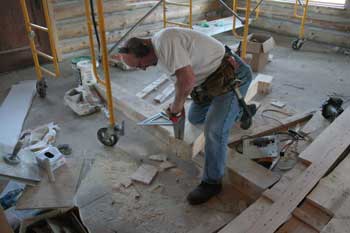
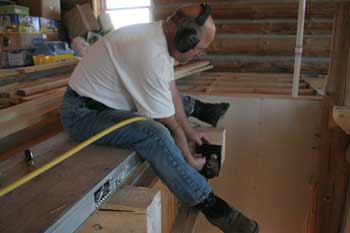
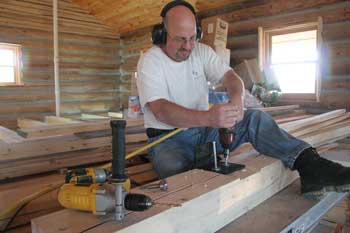
| Cutting the drywall out with a dremel tool made for a lot less mess than just tearing it out. | Stephen setting a good example by wearing his ear protection. | |
 |
 |
|
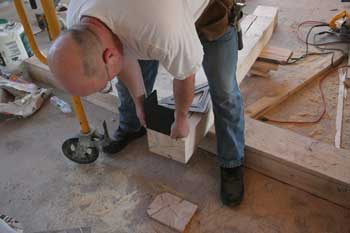
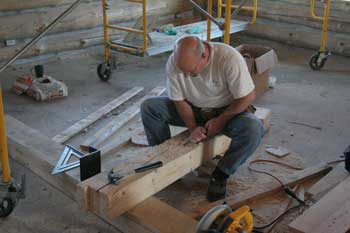
| Marking the location of one of the brackets on the end of the header beam. | Cutting out the countersink for the bracket so the beam will meet its crossmember flush. | |
 |
 |
|
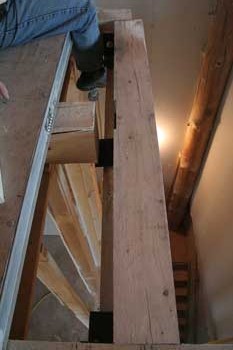
| Only the framing remaining in the temporary walls, and a scaffold pick for Bob to work off of. | Chiseling out the countersink for a bracket at mid-span for the center joist beam in the photo at left. | |
 |
 |
|
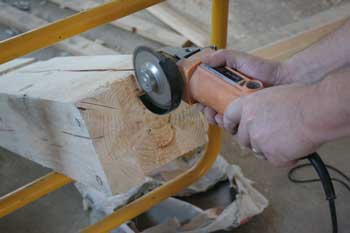
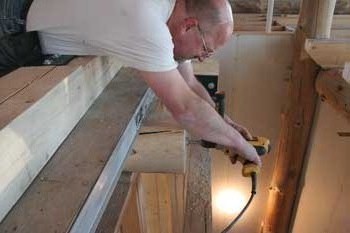
| Working overhead on preparing the ends of the joist beams. | Back on the floor, using the lancelot to round off the edge of the countersink for fit the elbow of the angle iron bracket. | |
 |
 |
|
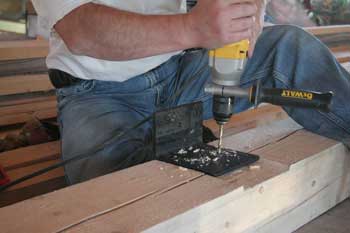
| A 2x4 support was used to aid in setting the two end brackets. | Pre-drilling for the bolts before attaching the bracket at mid-span on the header. | |
 |
 |
|
| Attaching the bracket. | Using a forstner bit to drill shallow holes in the end of the center joist beam to accept the bracket bolt heads. | |
 |
 |
|
| We had to manipulate the header beam a little, sliding it in perpendicular to the joist beams. | It's a great fit! | |
 |
 |
|
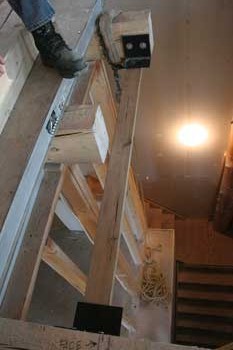
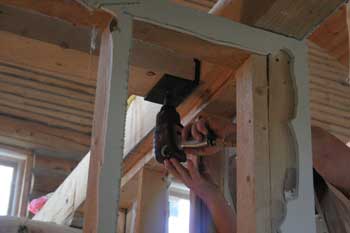
| With the header in place, the brackets were bolted up through the bottom. | Looking up from the stairwell at the finished work. The next step will be to set the log post under the corner and remove the temporary wall framing. |
| <-- BACK TO "Fall 2011 Projects" |
BACK TO OUR LOG HOME MAIN PAGE
If you have any questions about this website, e-mail us at stargazer@stargazerpics.com.
HOME | aurorae | moon & lunar eclipses | night sky shots | landscapes | animals unique shots | our wedding | Alaska 2006 | our log home | Stephen | Oliver | Alistair |
These pages and their contents Copyright © All Rights Reserved.